beware - picture heavy!!
this tutorial will walk you through the steps to make a skirt - you
will need a skirt of a similar style to copy. the ribbon-topping is by
no means necessary, but i thought it a nice touch.

things to consider:
- you want to choose material that is similar to that of your
existing skirt - it doesn’t have to be exactly the same, but if your
skirt is stretchy, you’d want to choose stretchy fabric.
i did not use stretchy fabric, and if you do you would need to make
some additional allowances - i’ll cover that in a later tutorial.
- if in doubt, always cut your material larger than you think you
need. it is easy to make a skirt smaller, and next to impossible to make
it larger.
- try it on periodically as you make it, that way you can make adjustments as you go.
- i chose to fold my material and have it 2 layers thick. this is
because a: the material was a bit see-through otherwise, and b: having
the fold at the bottom of the skirt means not having to hem the bottom.
keep in mind if you are using a single layer of material, you will also
need to hem the bottom!
- have fun, and don’t expect it to be perfect the first time!
you will need:
- skirt to copy
- material - i used about 2 m, but depending on how big you and your skirt are, you may need more!
- scissors
- pins
- chalk for marking material
- thread to match your material
- zipper (i used 7”)
- sewing machine
- 1 m or more of ribbon to top
here we go!
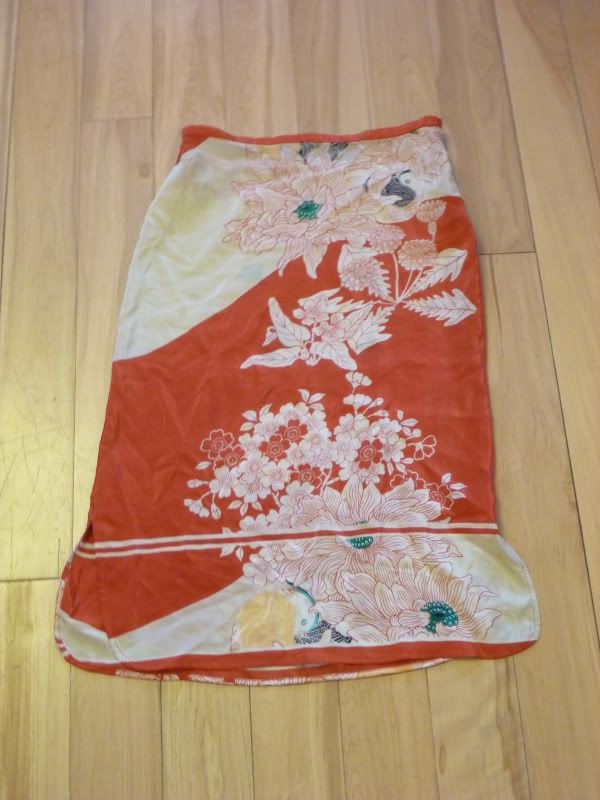
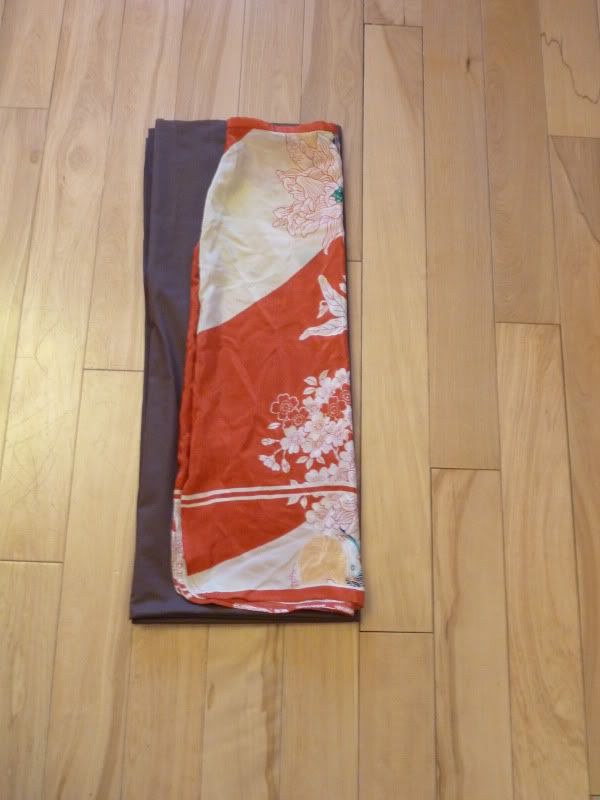
first, pick your pattern skirt
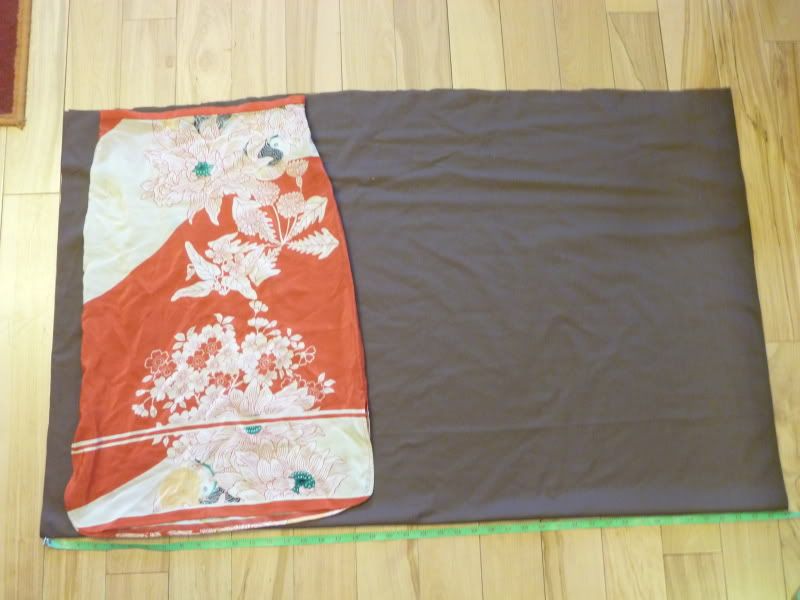
next, i folded my material (fold along the bottom) and laid out my
skirt on top - you can see there is enough material to cut 2 of my skirt
pattern - one front, one back.
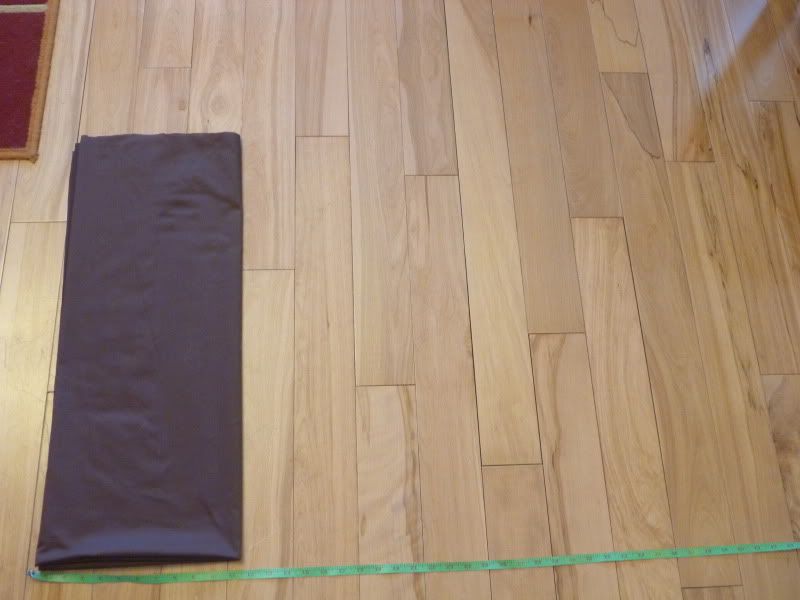
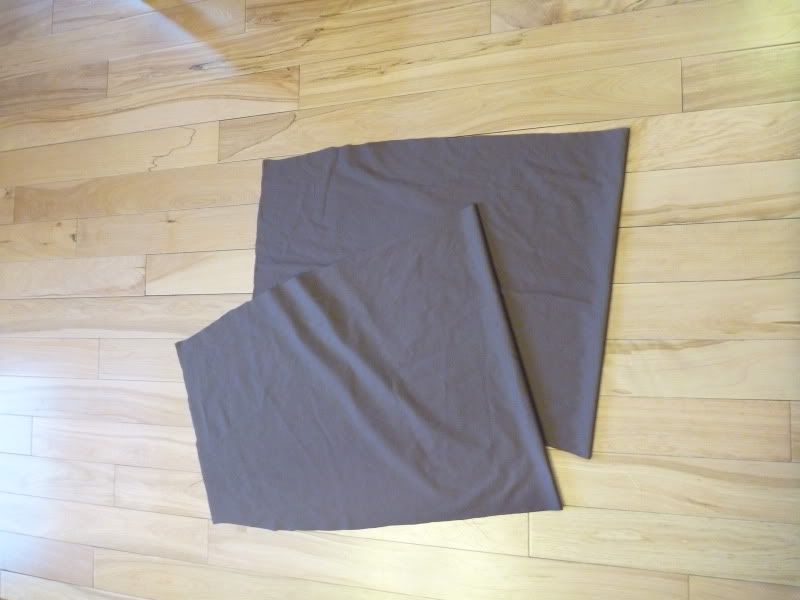
then i folded my material in half once
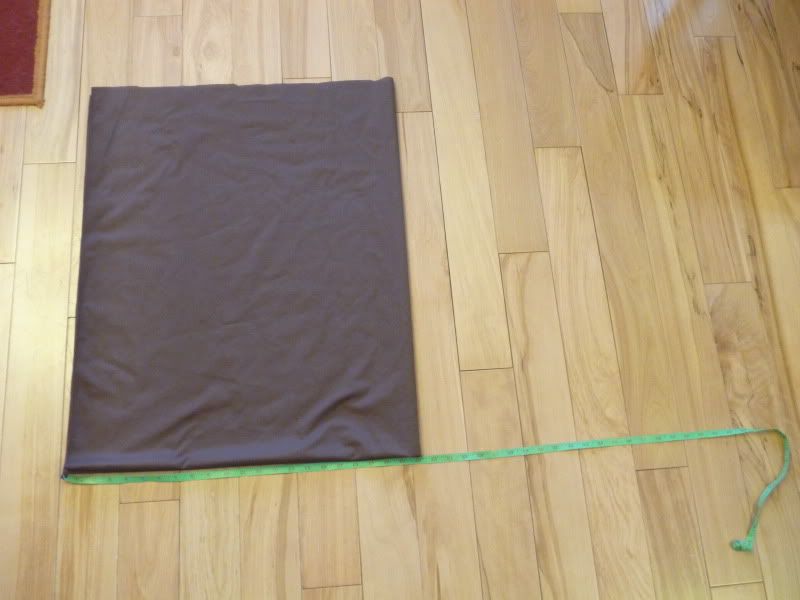
and again. this allows me to cut all of the material at once, and make sure the front and back are the same size and shape!
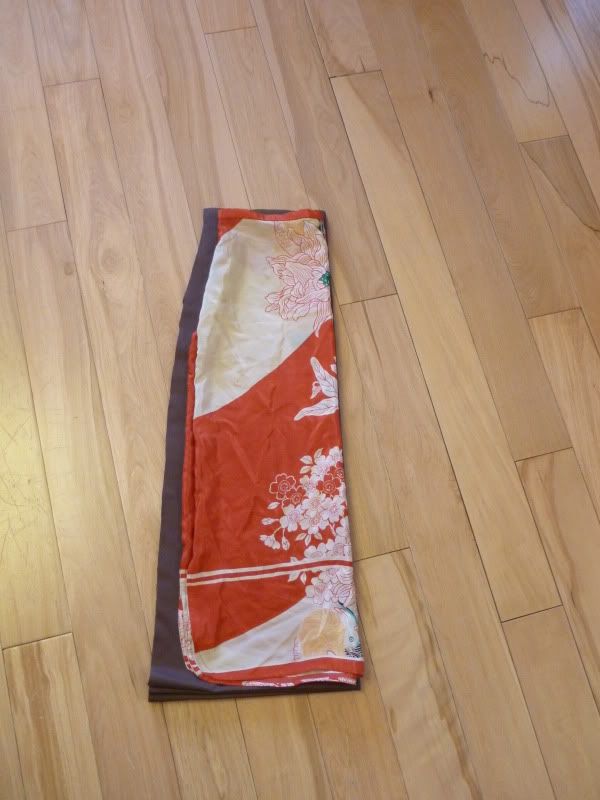
next, i fold my skirt in half, and lay it on top of the material - making sure that the folds line up.
then i cut out the skirt shape, leaving an allowance of about 1” for seams, and room at the top for darts (more on that later)
*remember, always cut too big as opposed to too small!!*
after cutting, i have two skirt outlines!
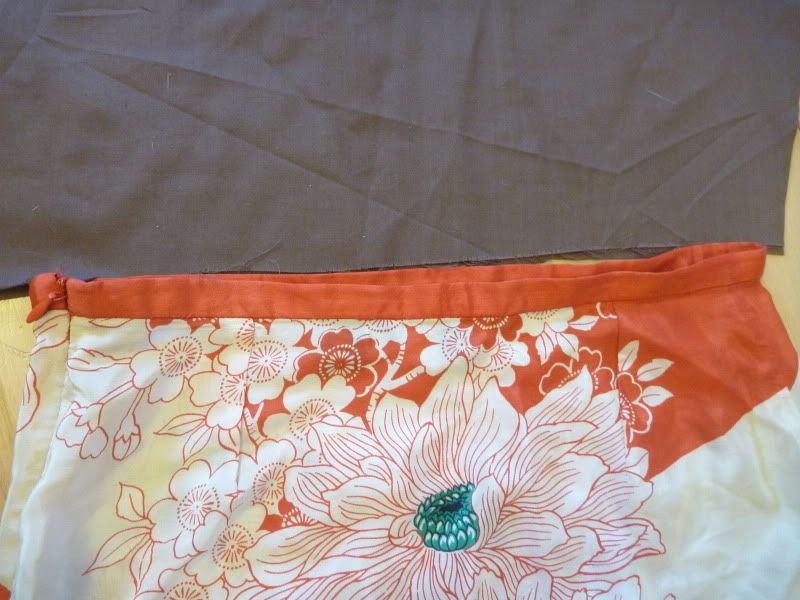
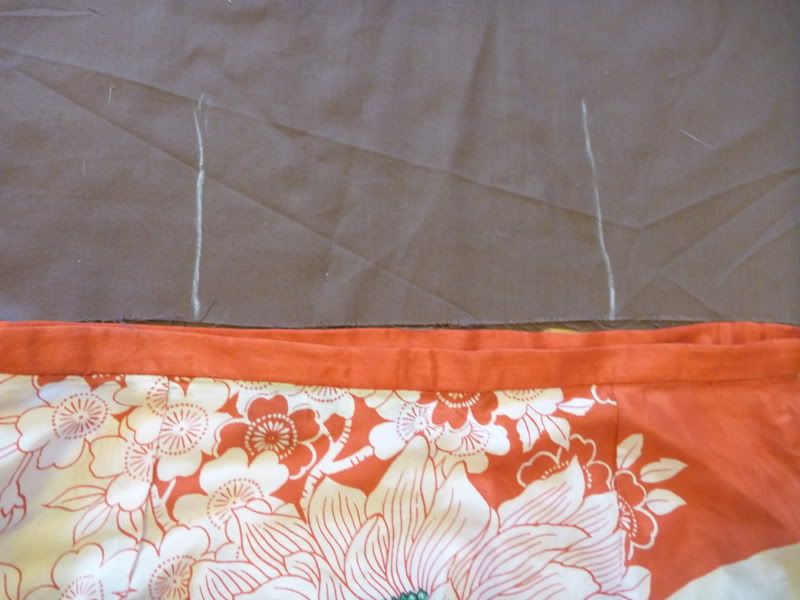
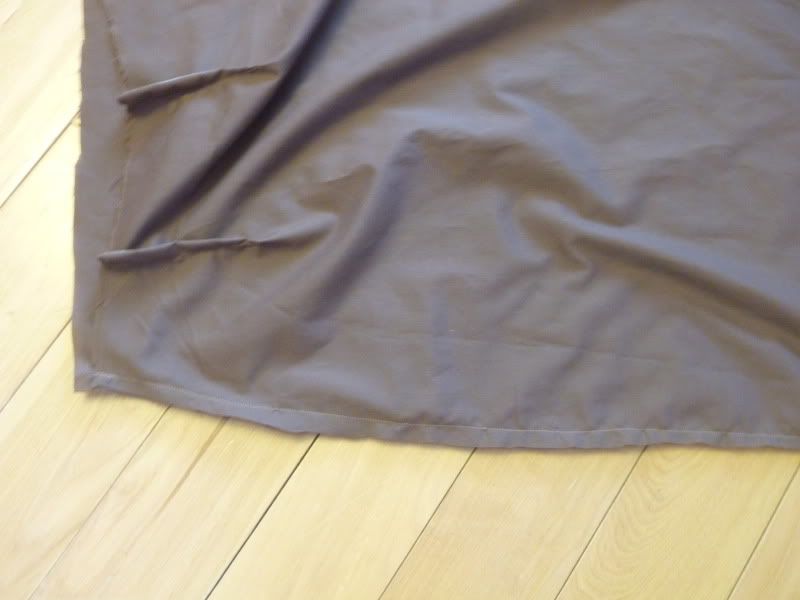
the next step is to add darts on one of the pieces - this will become
the back. i lay out one of the skirt outlines, and line it up with the
existing skirt. when cutting your material, you will want to make sure
you leave room for darts. in this case, the darts aren’t very big, so i
didn’t need much of an allowance.
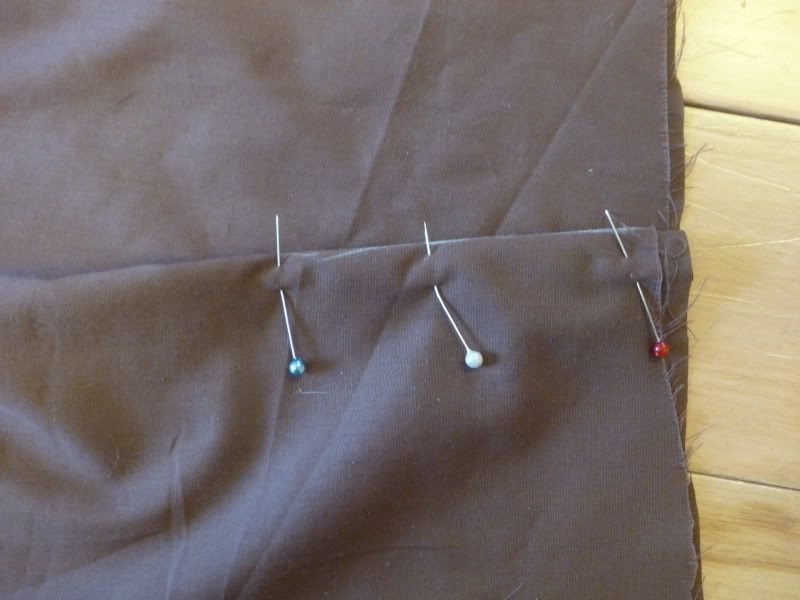
then i mark with chalk the approximate location and length of the darts. this is not exact, i just eyeball it the best i can.
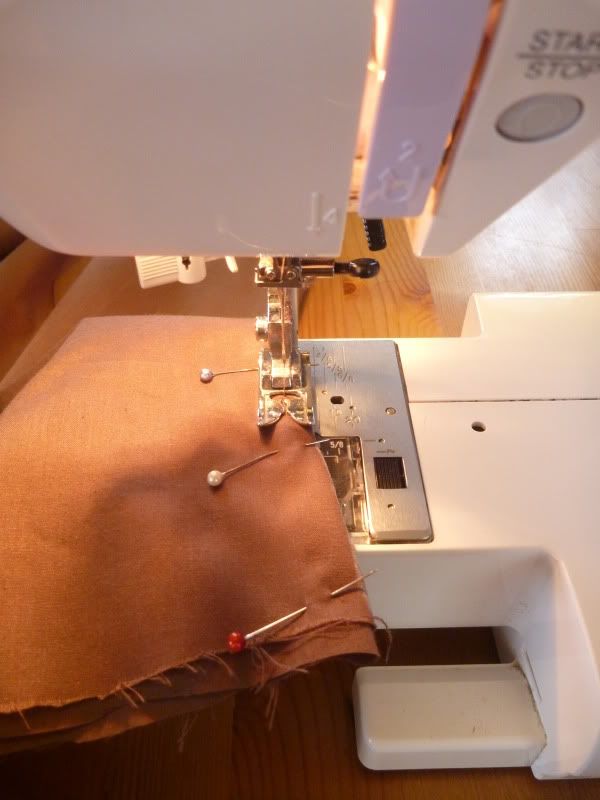
next, using your chalk lines as a guide, pin the darts
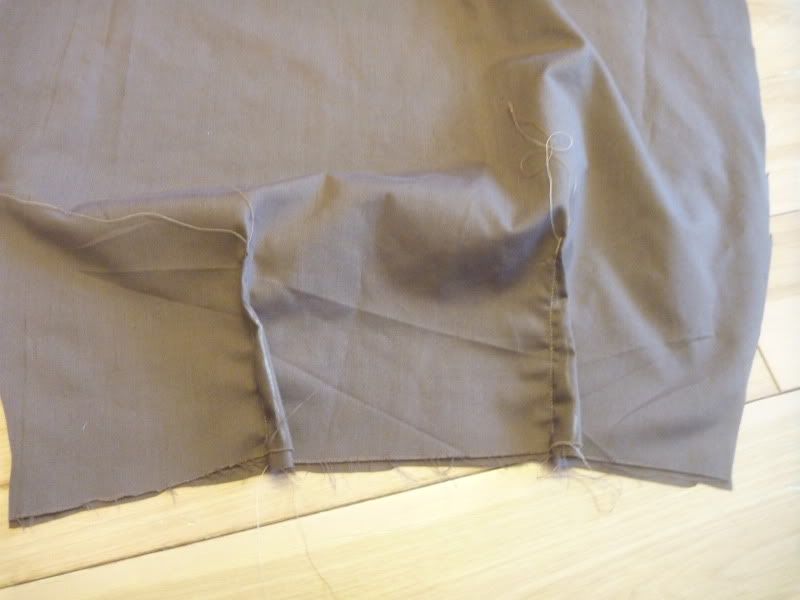
and sew
and there you have it -darts!
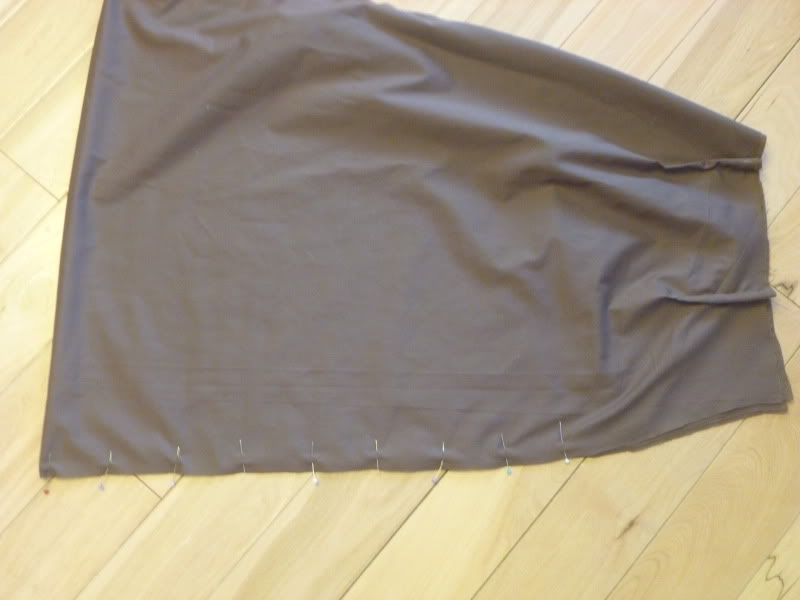
next, lay your front piece out flat, and the back piece on top (darts out) and pin along one side.
*if you are using patterned material remember that the patterned side goes IN*
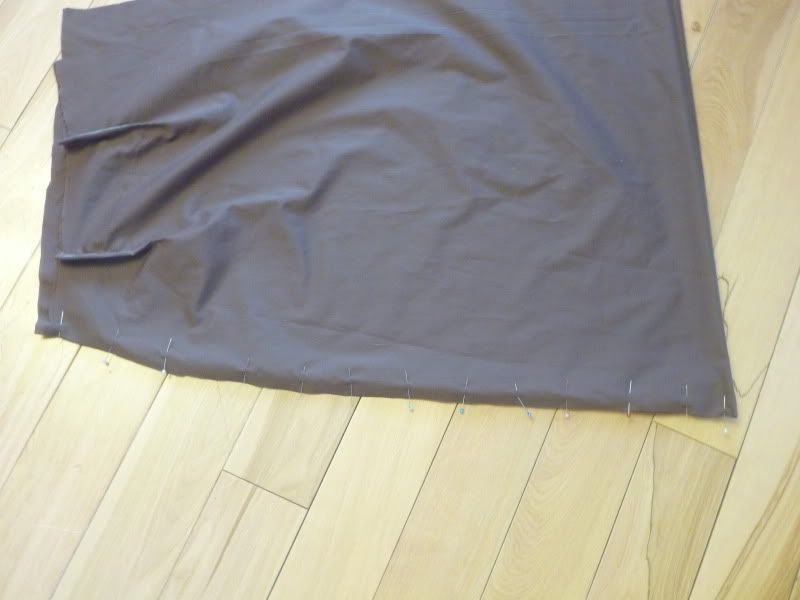
then sew that side
then do the same to the other side, but leaving space for a zipper! (i used a 7” zipper, so i left about 8” unsewn)
next, add ribbon-topping (or if you’re not into ribbon, hem the skirt!)
this part is a little tricky, since the top of the skirt is not flat
and square. i found that the best way to go about it was to pin the
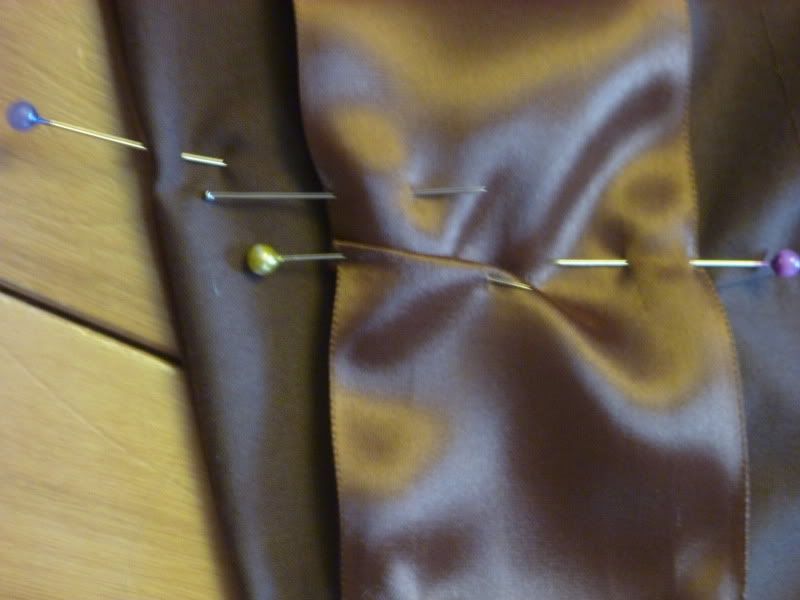
bottom of the ribbon first, then pin the top, darting the ribbon where
needed. you will need darts at each side, where the skirt is smaller at
the top, as well as at the darts.
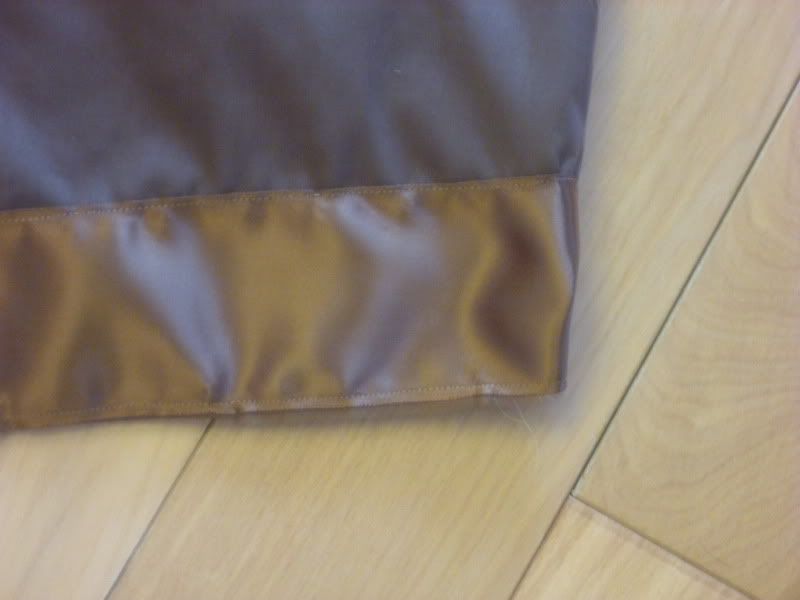
to add the ribbon, i turned the skirt right side out, folded down the top a little, and pinned the ribbon on top:
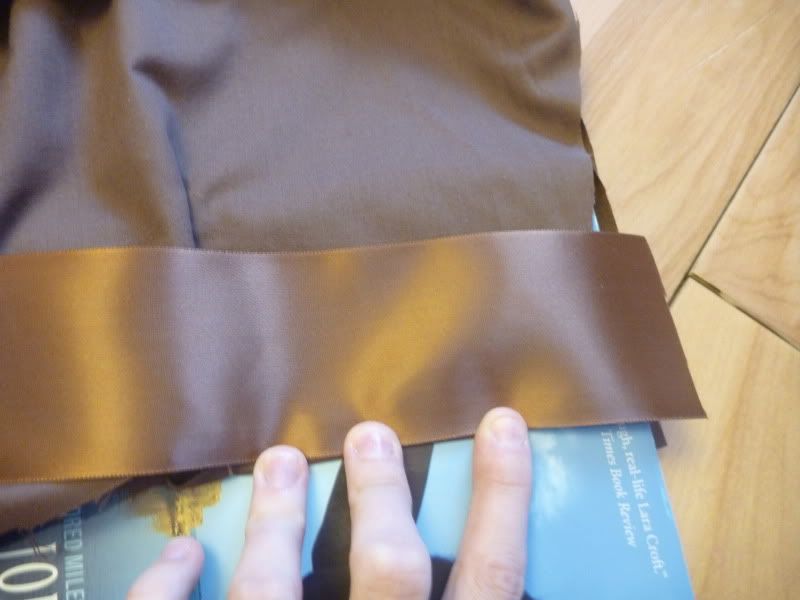
here is the front (which is flat, so quite straightforward!)
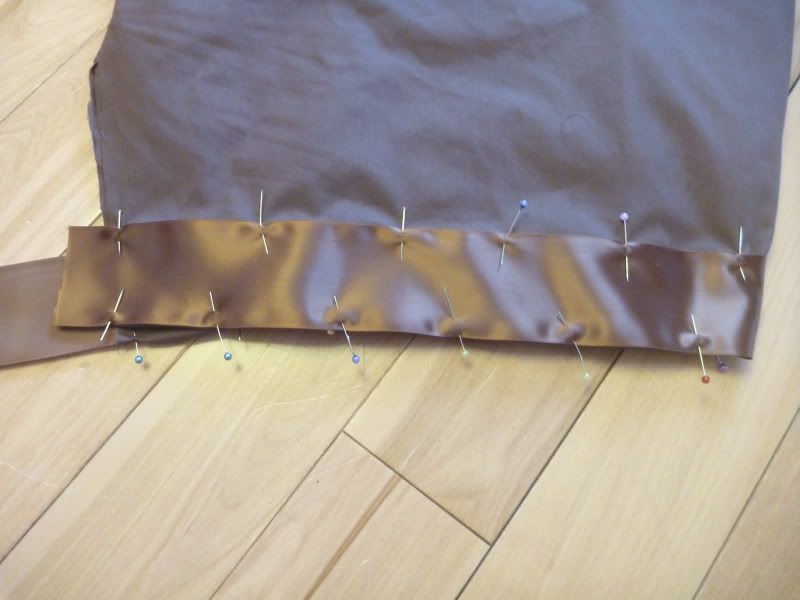
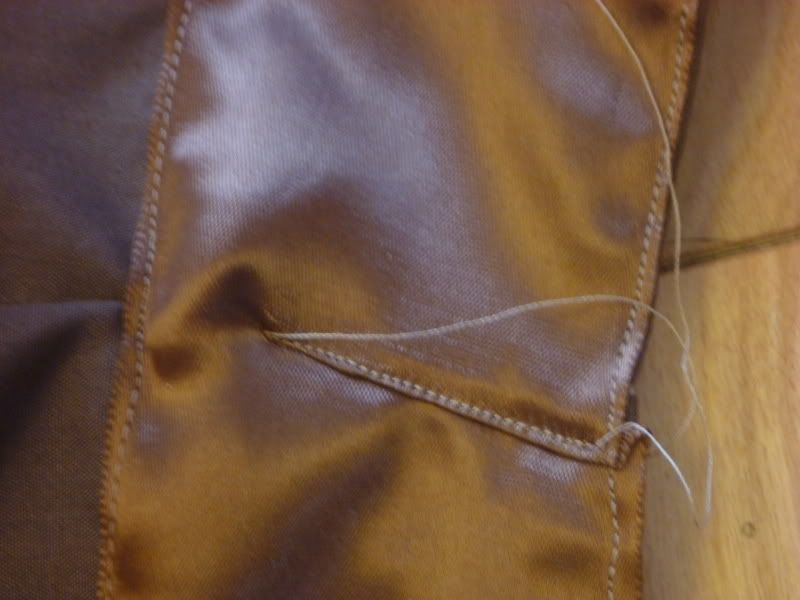
and the back (with darts in the ribbon)
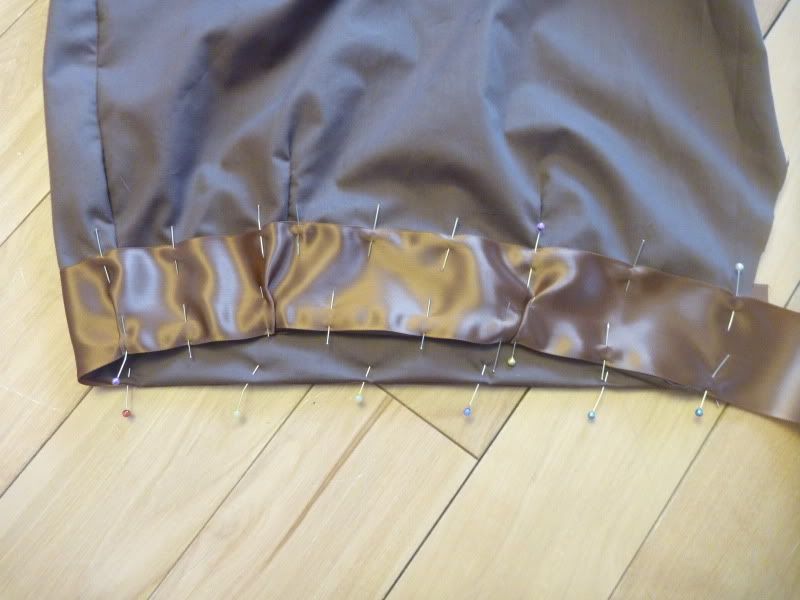
and a closeup of a dart
sew the ribbon with a line of stitching along each the top and bottom of the ribbon
i also chose to sew the darts flat, so they would sit nicely
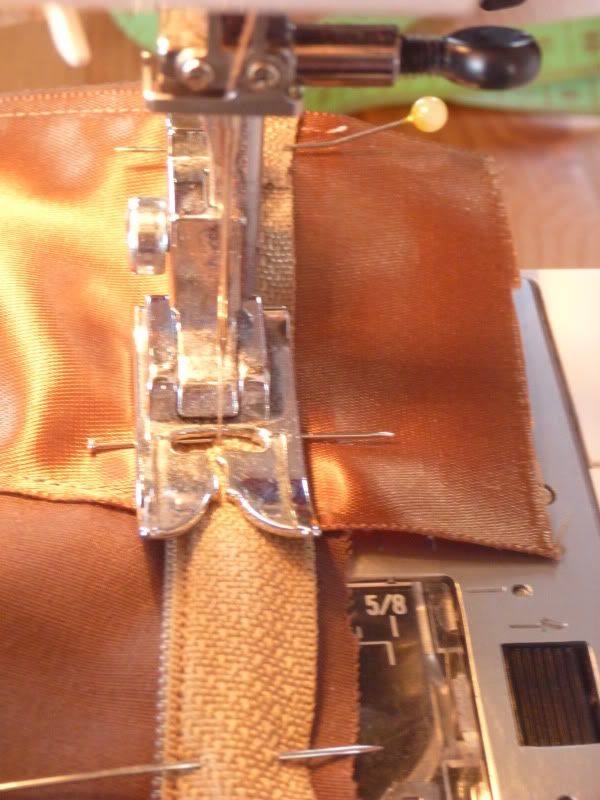
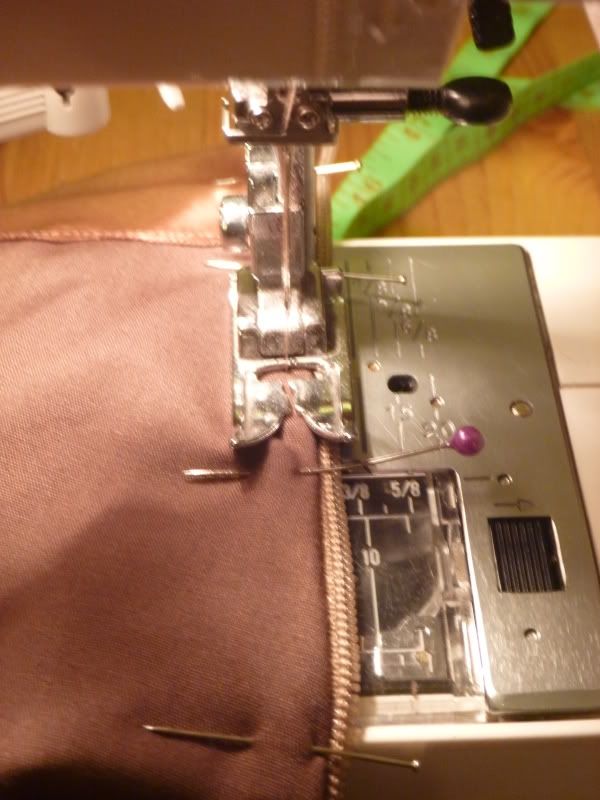
finally, installing the zipper!
first, open the zipper, and pin the front of the zipper to the front of the skirt as shown

and sew
and do the same on the other side (turning the skirt inside out will make this much easier)
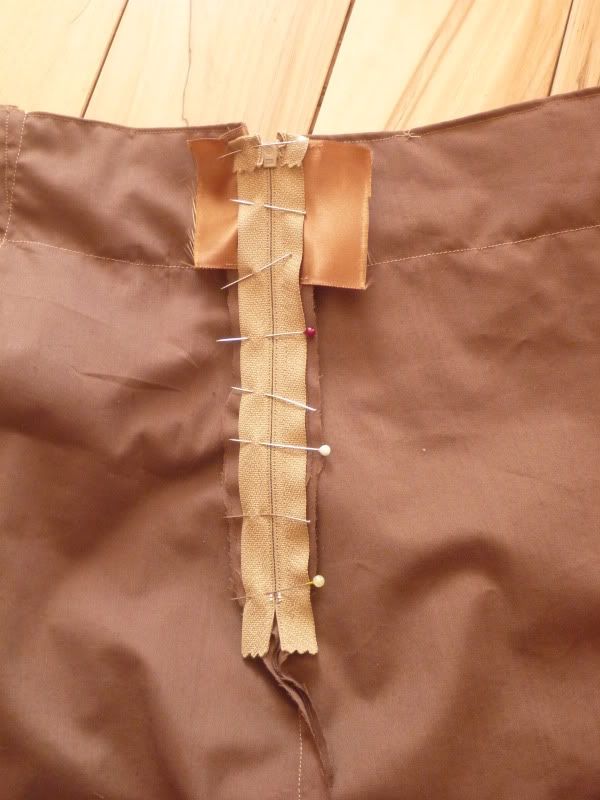
once the zipper has been sewn to both sides, turn the skirt back
right side out, and pin the material so that it sits flush with the
zipper, as shown
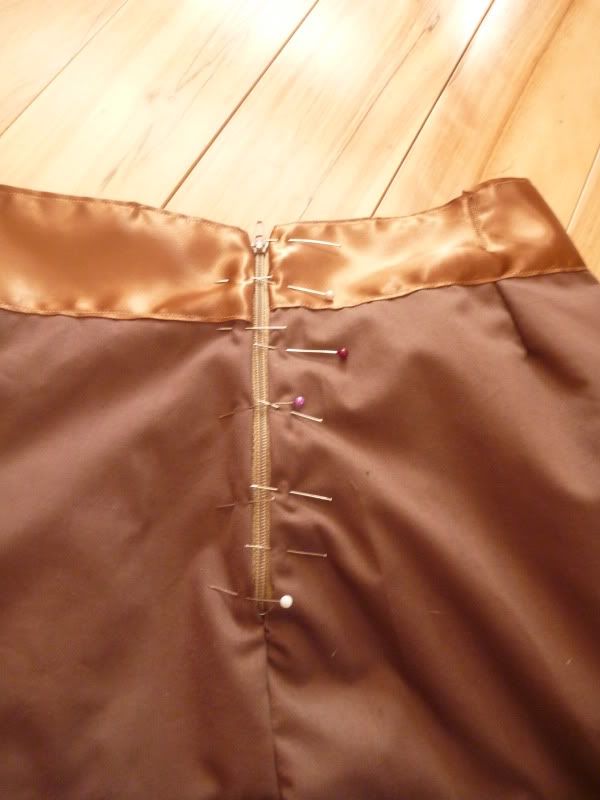
and sew a line down one side, across the bottom of the zipper, and up the other side! (opening the zipper will make this easier)
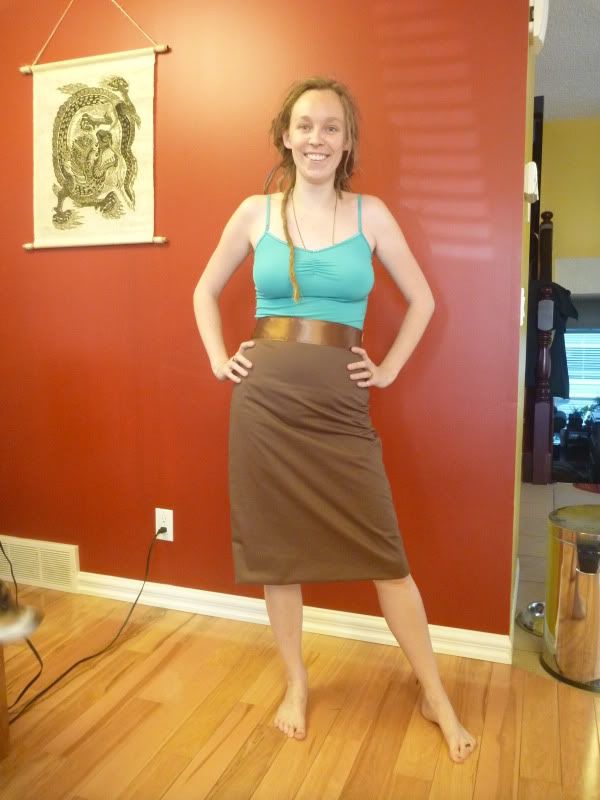
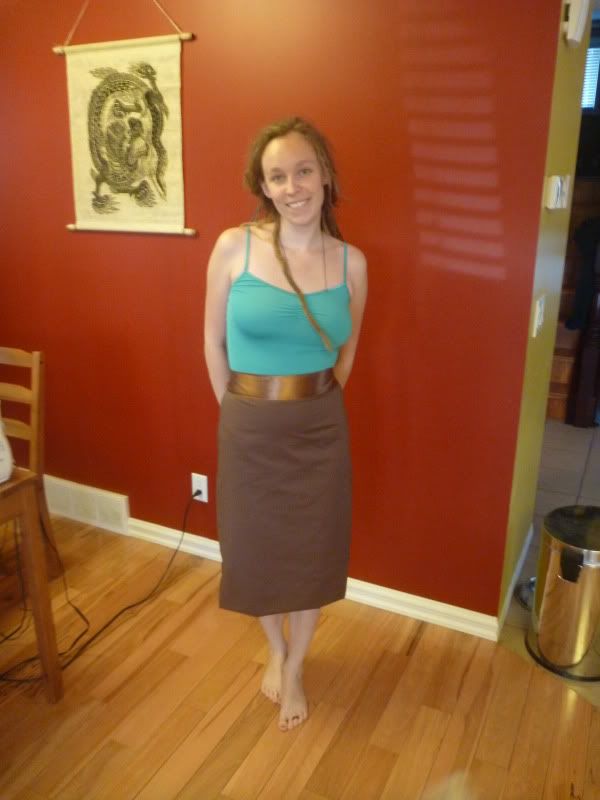
and voila! complete!
No comments:
Post a Comment