matt and i do a lot of backcountry camping, and having things that
are light, portable, quick to dry, etc is very key. our old first aid
kit is falling apart, so i thought i’d make a replacement!
i used some leftover material that i had laying around from making farley (dog) a coat. it’s super lightweight and fairly water resistant.
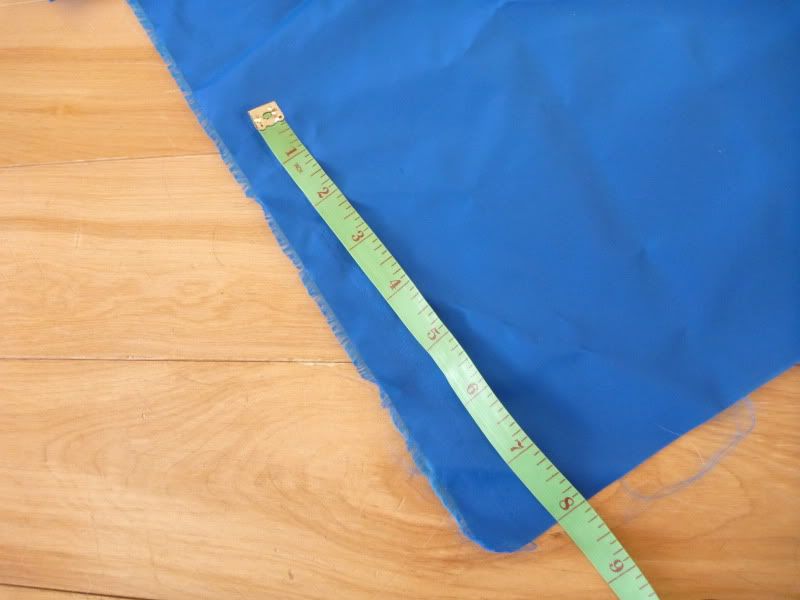
we travel light, so i wanted something small and tough. i had a 7”
zipper laying around, so i used that as the basis for the measurements.
i used a single piece of material 8” x 10” and wound up with a bag 4 1/2” x 2” x 2”.
you will need:
- material
- zipper
- pins
- sewing machine/needle and thread
- thread
here we go!
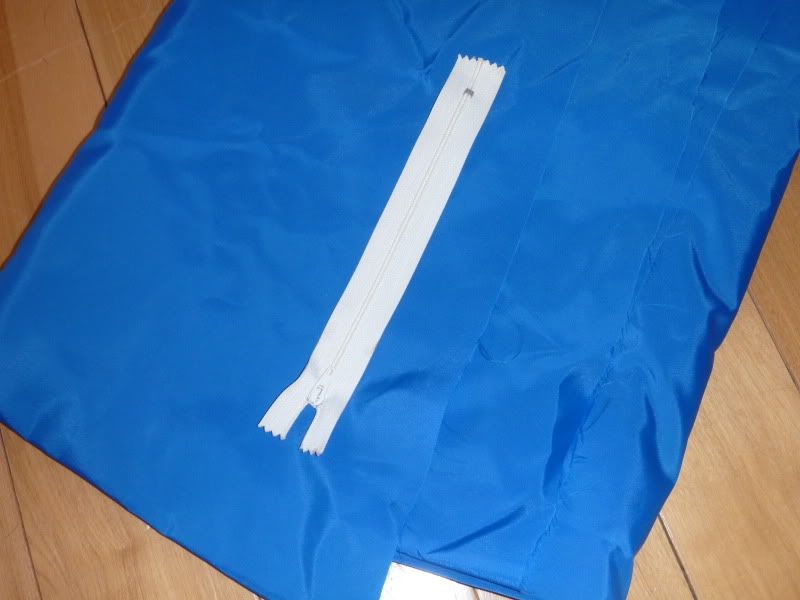
so, i started with my material and zipper.
and cut a 10 x 8 rectangle.
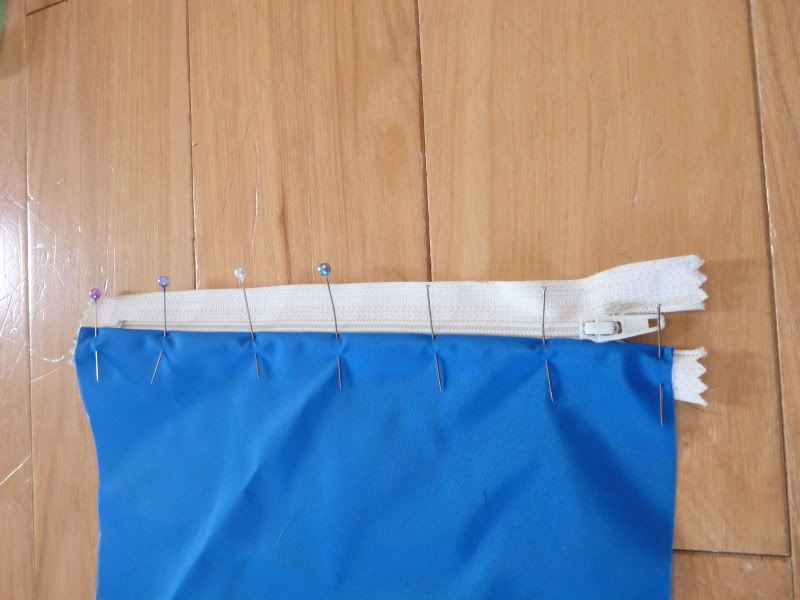
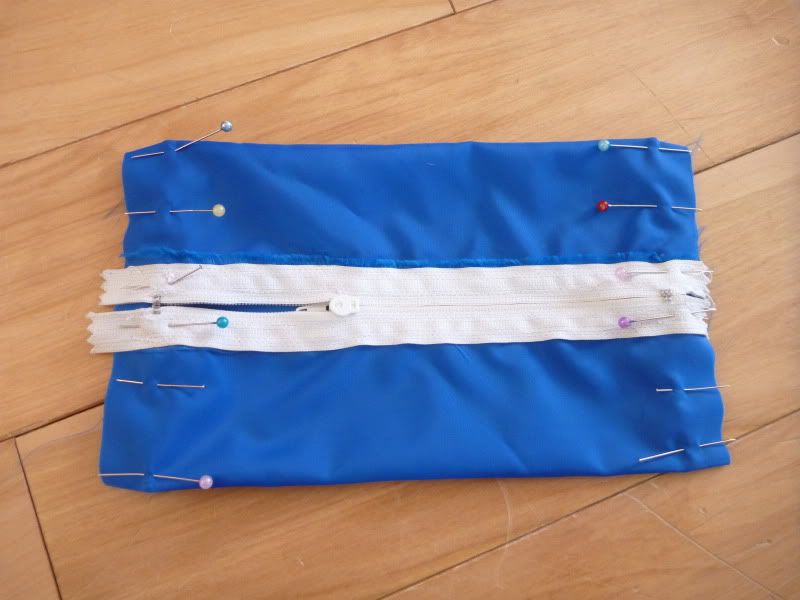
next, on one of the 8” ends of the rectangle, i folded 1/2” down at
the end, and pinned it to the zipper as shown. keep in mind the side you
see will be the OUTSIDE (this matters if your material has a “right”
and “wrong” side)
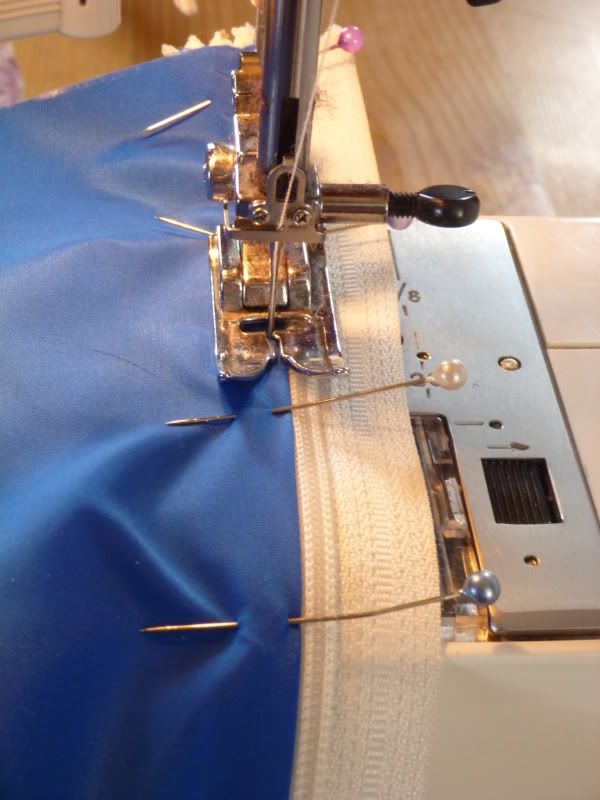
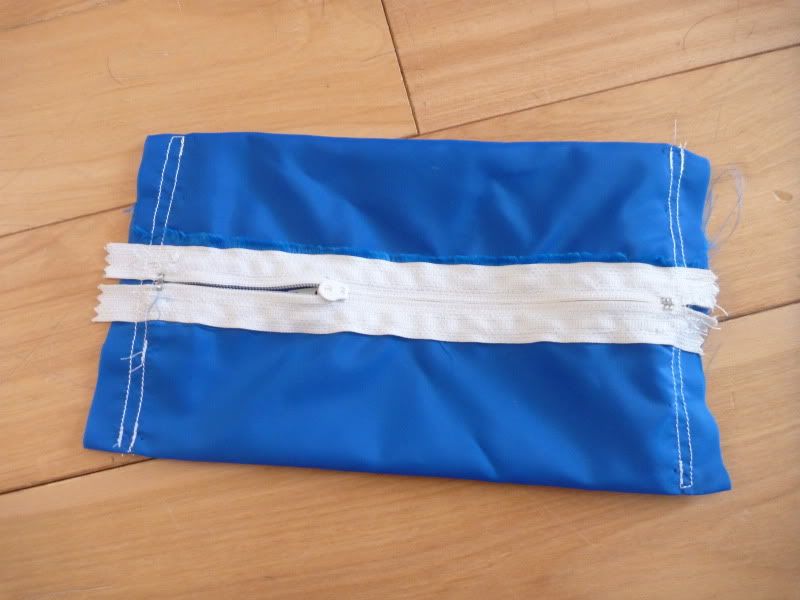
using the smallest stitch setting, sew a line as close as you can get to the edge near the zipper.
it will look like this
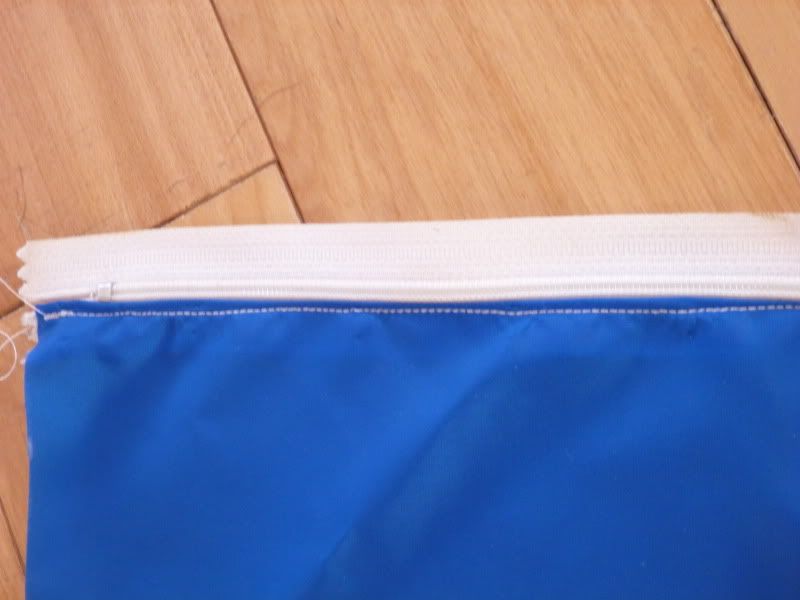
then, sew a second line beside it (this gives it strength as well as helping to minimize fraying of material)

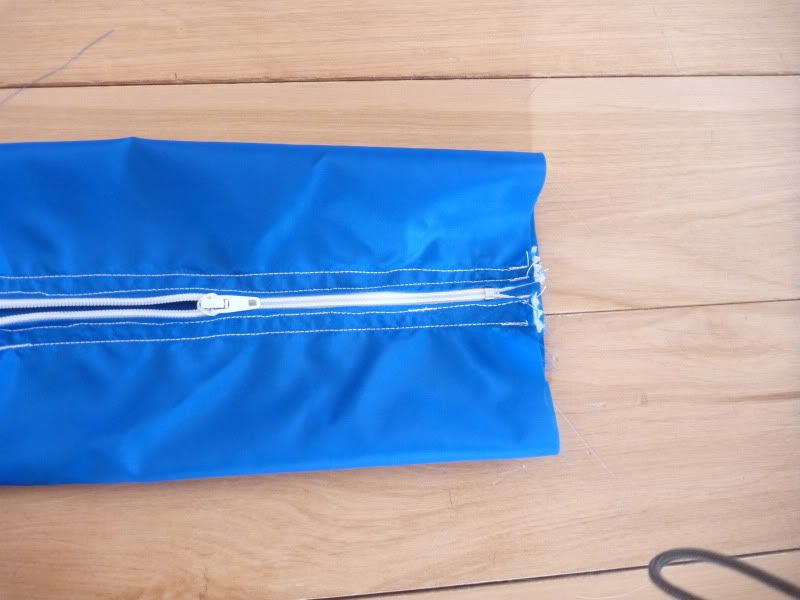
next, fold the other edge over and pin to the other side of the rectangle. this will be easier if you open the zipper.
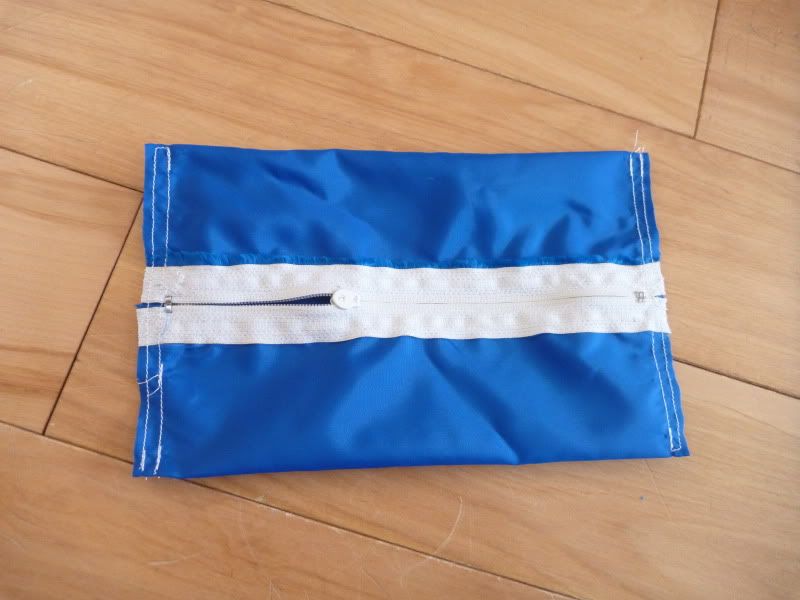
sew just like the first side
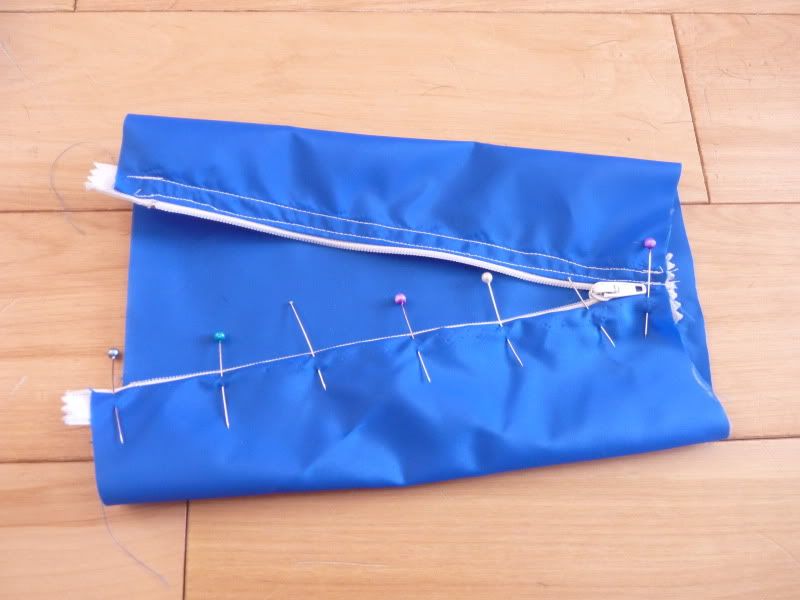
once your zipper is securely in place, with the zipper partly open, turn the whole thing inside out, and pin the open ends.
sew it up! again i’d recommend two lines of stitching.
and trim off the excess material on the ends.
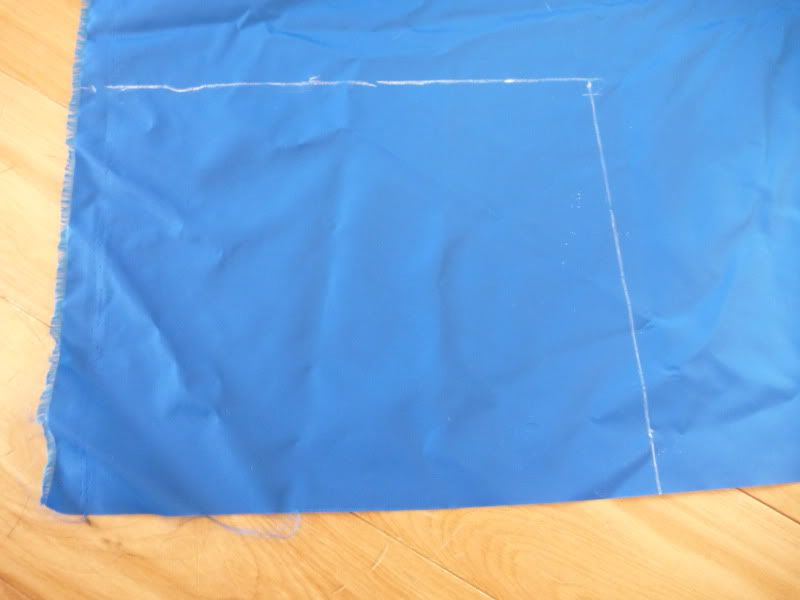
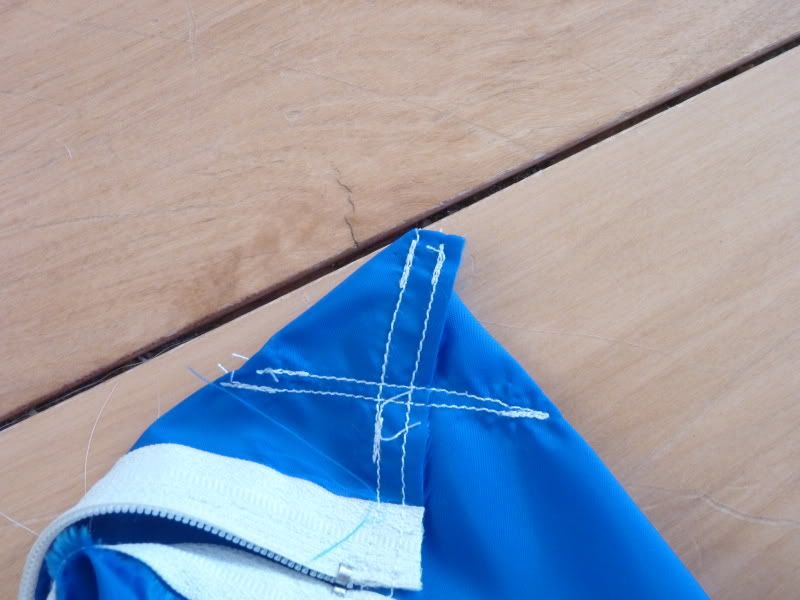
next, take a corner and lay it flat, as shown in the picture. pin about 1” in from the corner.

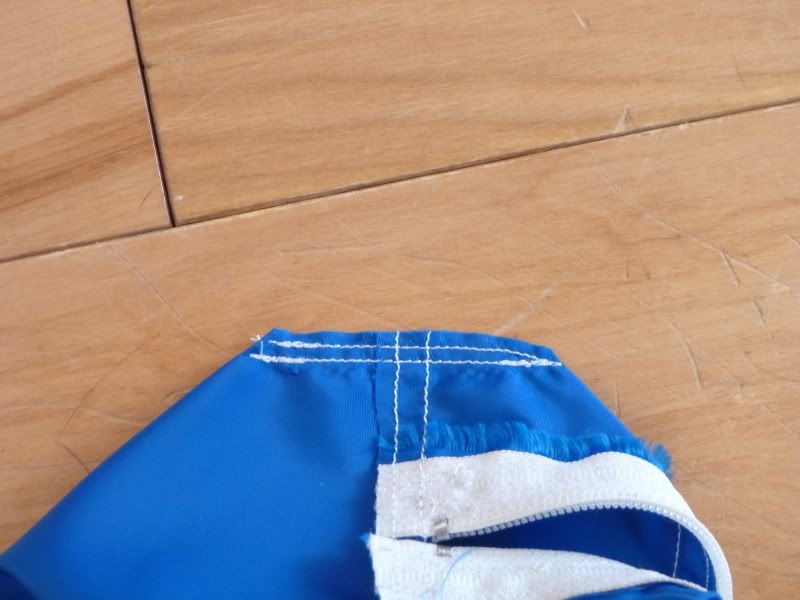
sew two lines of stitching across the bottom of the triangle.
and trim off the excess material.
repeat this process with all four corners, then turn the bag right side out!

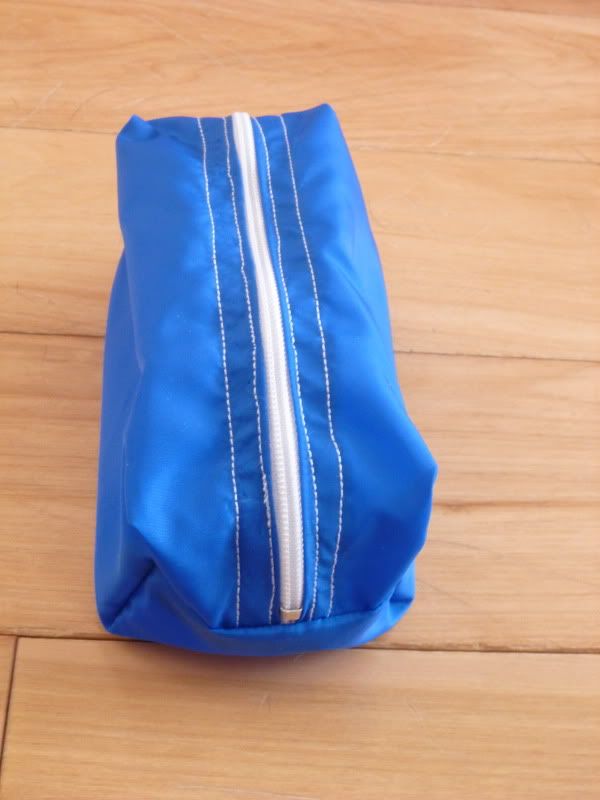
voila!
No comments:
Post a Comment