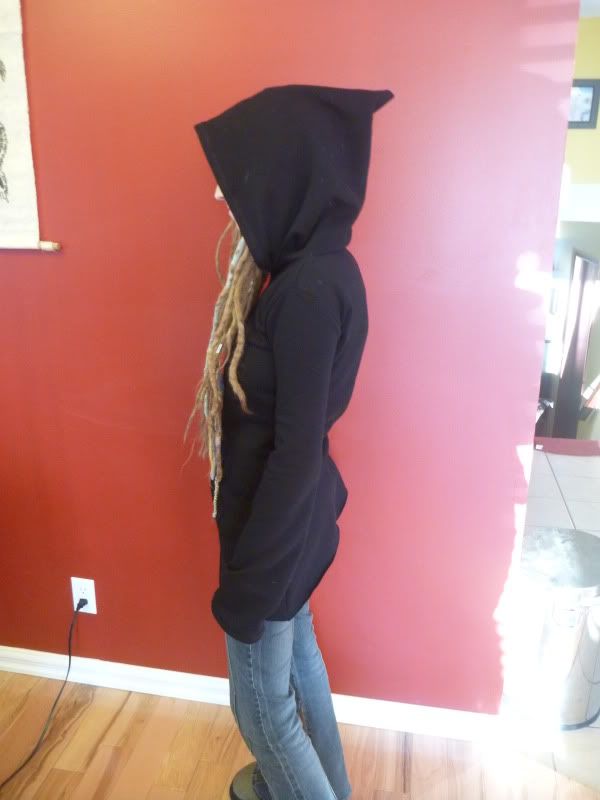
i have been making hoodies for years. i enjoy things like pointy
hoods and bell-bottom sleeves, which are hard to find in hoodies… but
actually they are fairly easy to make. this one was a gift for a friend,
but she is almost exactly my size, so i made it to fit me. it is always
easier to make clothes to fit yourself than other people, because you
can try them on and make adjustments as you go. i have made hoodies for
people who are bigger than me in the past, and it’s certainly doable,
although more of a challenge.
things to consider:
- the title says “how to copy a hoodie” but this system of
pattern-copying can be applied to many different types of clothes - and
if you don’t have a hoodie that fits the way you want it to, you can
always use a long-sleeved t-shirt or something similar - you just need
to adjust for the amount of stretch the fabric has.
- always cut your fabric too large as opposed to too small. it’s easy
to make clothes smaller, and next to impossible to make them larger.
- try it on periodically, it’s far better to find a problem and fix it right away than to have to rip seams later.
- generally sweatshirt material has stretch in one direction - i will
indicate which direction stretch should go, and be sure you follow
those recommendations, especially for a more fitted shirt.
- ALWAYS wash and dry your material before sewing with it. it takes
extra time, but you want to make sure that if it’s going to shrink, it
does so before you sew with it.
you will need:
- fabric. i use about 2.5 m of sweatshirt fabric for a harmony-sized hoodie, but i am pretty small. always buy more than you think you need, that way if you cut something too small, you can redo!
- scissors
- thread to match your fabric
- a hoodie or similar to copy
- sewing machine
- pins
here we go!
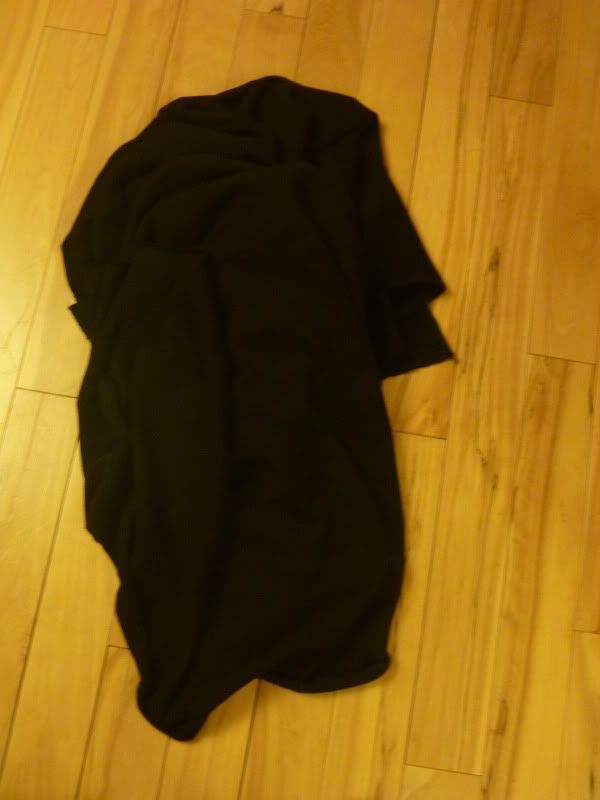
first, material. (sorry in advance for all the dog hair. i have 2
dogs, and it’s unavoidable, since i do all of my cutting and pinning on
the floor!!) as mentioned above, ensure you have washed and dried it at
least once, that will ensure it is pre-shrunk.
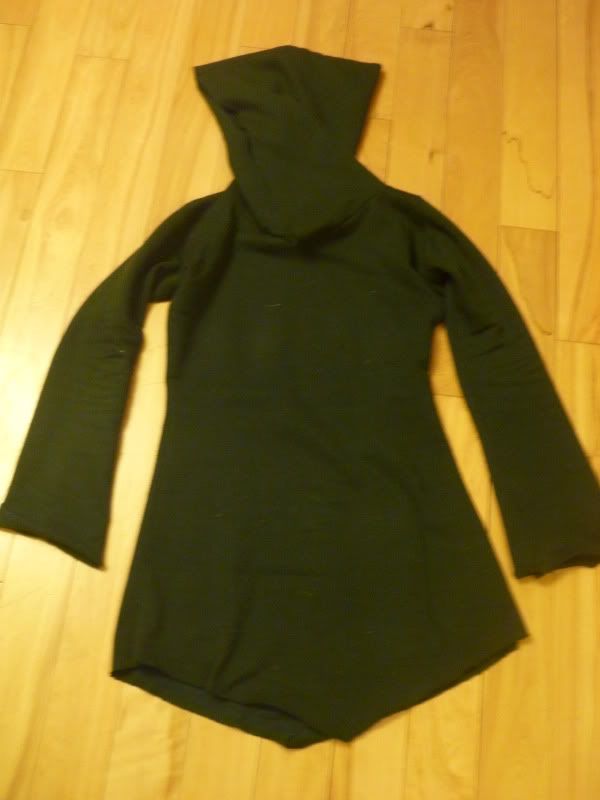
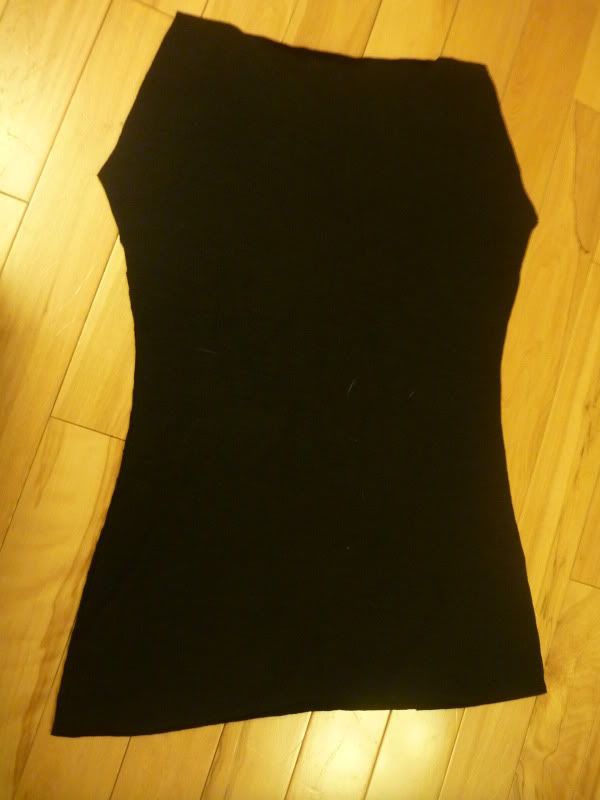
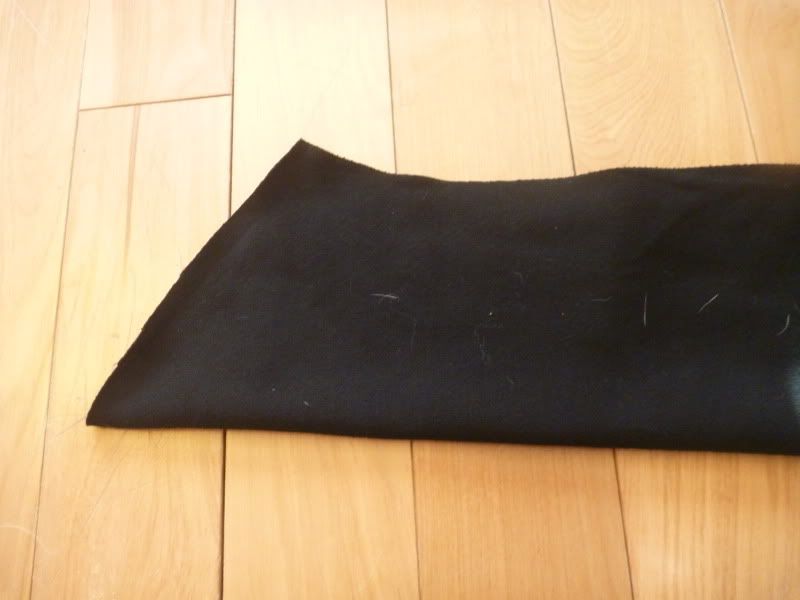
a hoodie to copy (this is another of my home made hoodies):
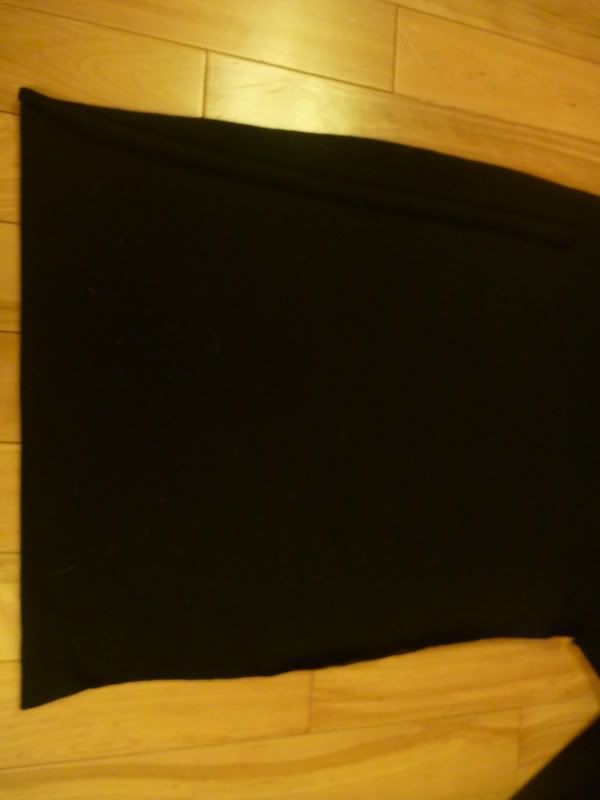
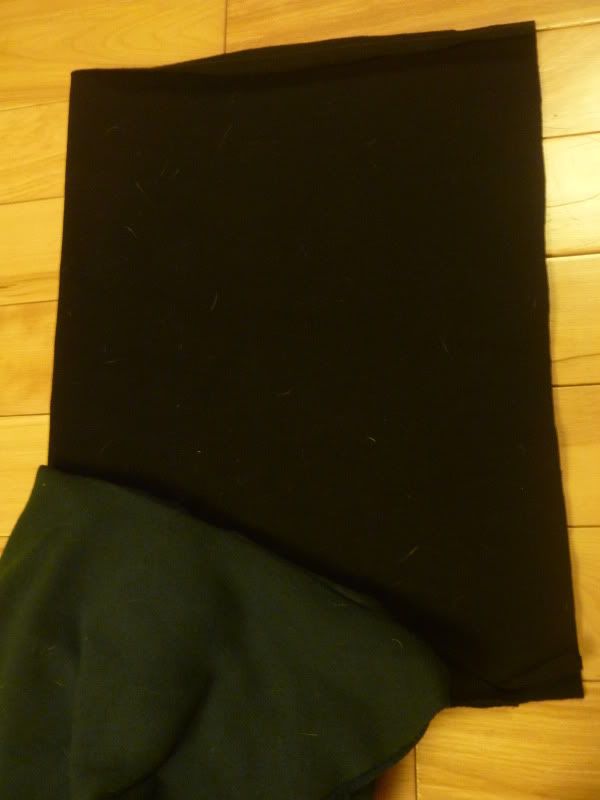
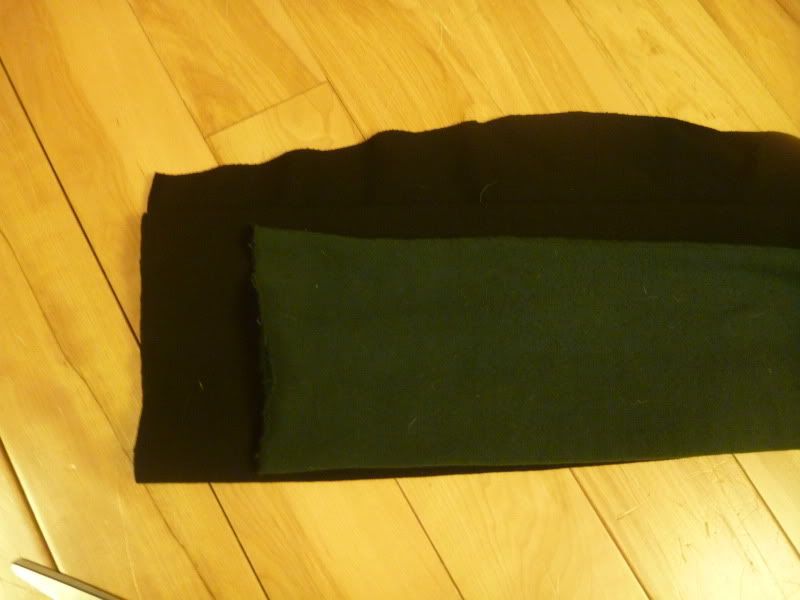
the first thing you want to do is lay your material flat, and fold it
to approximately the size you will need to cut for the body - lay your
hoodie flat on top to get the idea. keep in mind you will need to leave
an allowance on either side.
*you want the stretch to go <—> side to side*
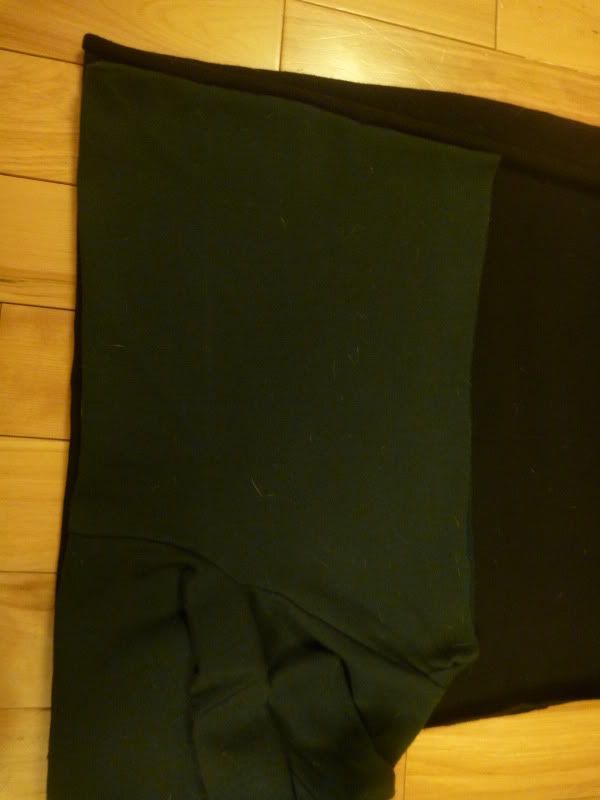
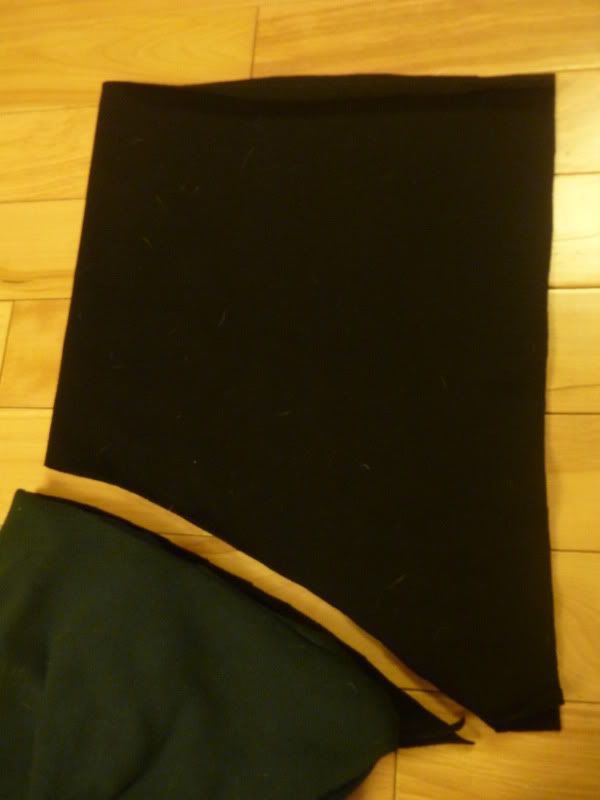
next, fold your material in half again, and fold your hoodie and lay
it on top with the folds all lined up (this will ensure when you cut
that the left and right side are exactly the same):
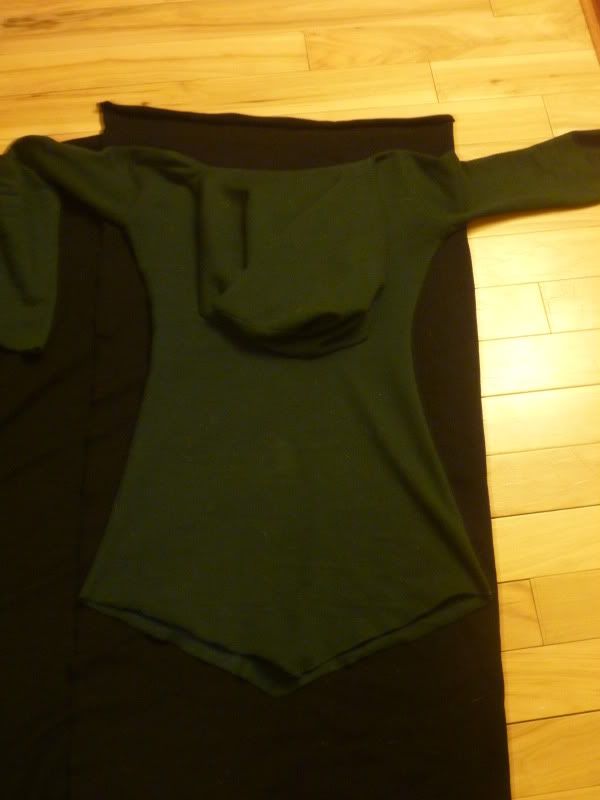
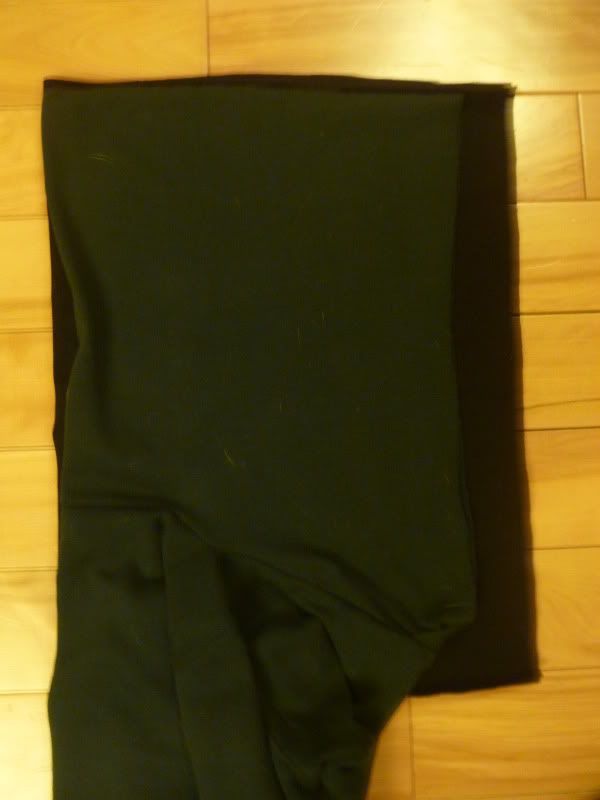
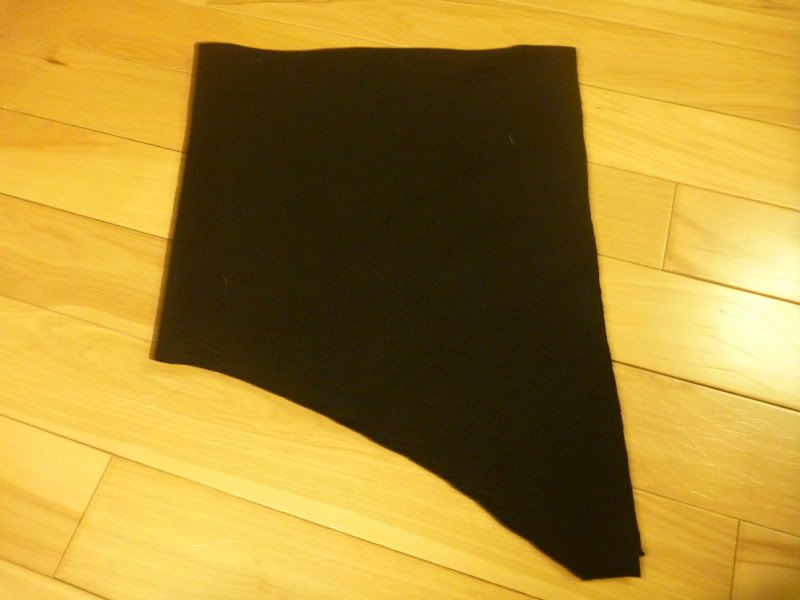
in this case, i didn’t want the pointy bottom like on the green hoodie, so i folded the point up before cutting:
next, start cutting. remember to leave an allowance for seams (at
least 1/2” on the sides, keeping in mind it’s better to make it too big
than too small!) and if you want to hem the bottom, at least 1” there (i
never do - hoodie material won’t fray):

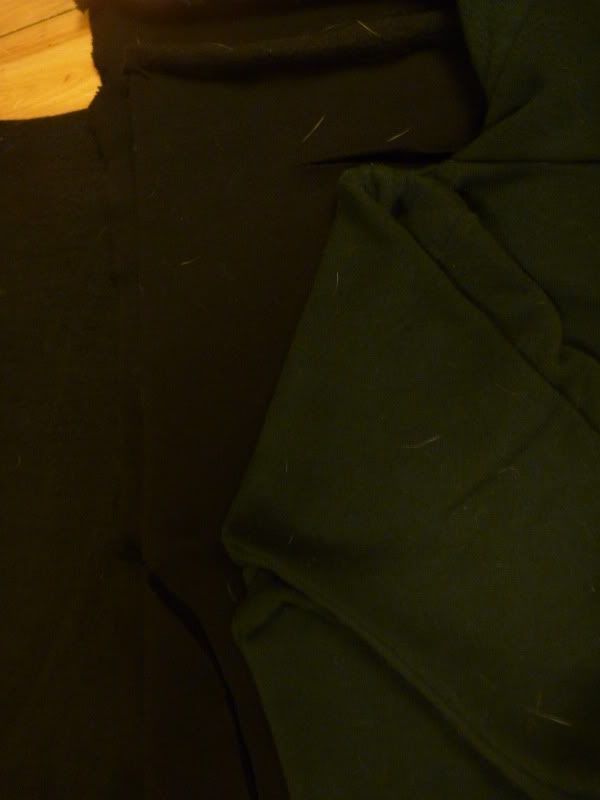
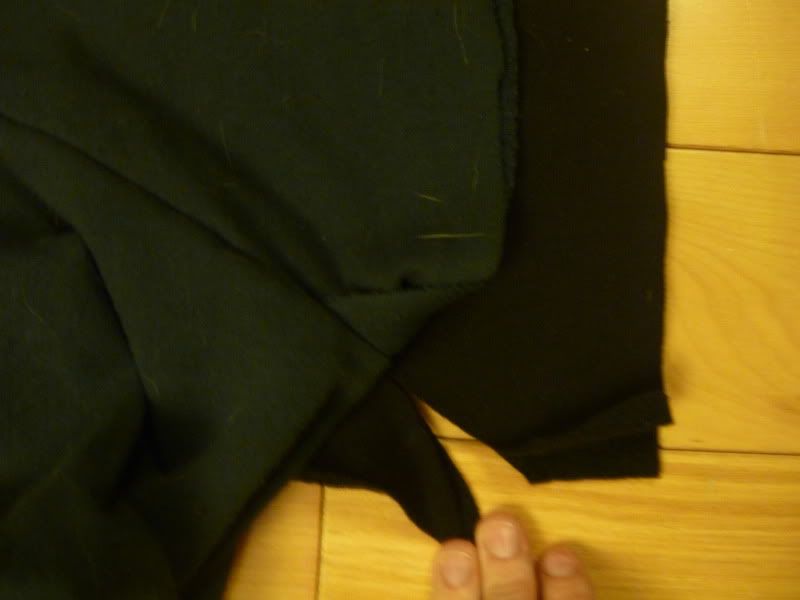
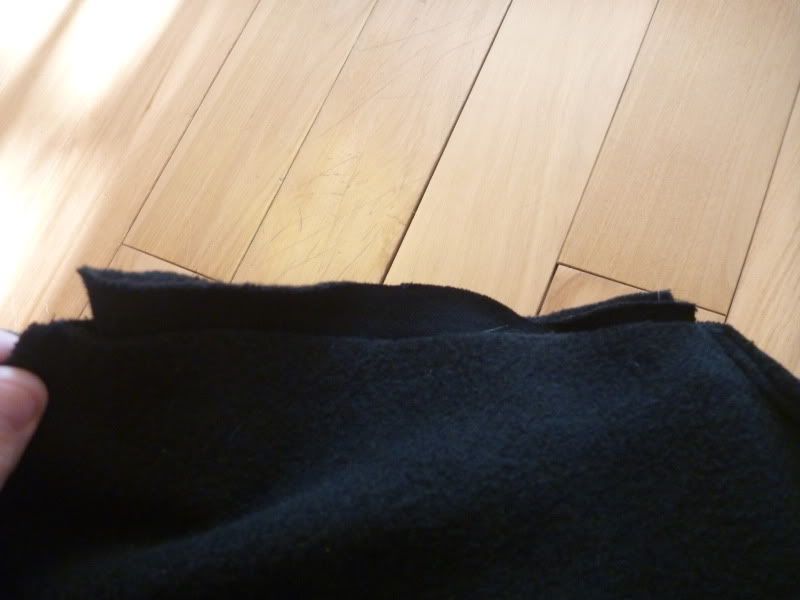
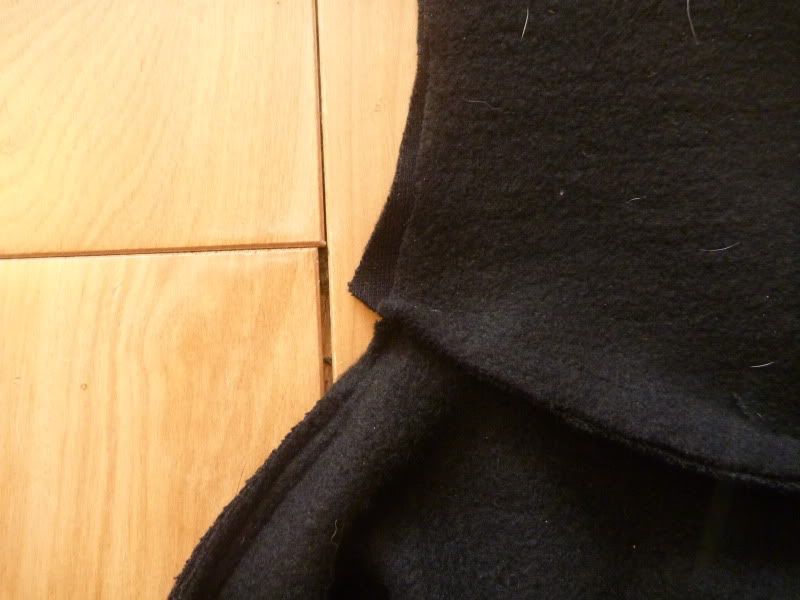
now for the top of the hoodie and arms - a little more complex. start by folding the hood down at the seam:

and cut:
next, fold the sleeve in, again at the seam where it meets the body:
and cut (again leaving a seam allowance):
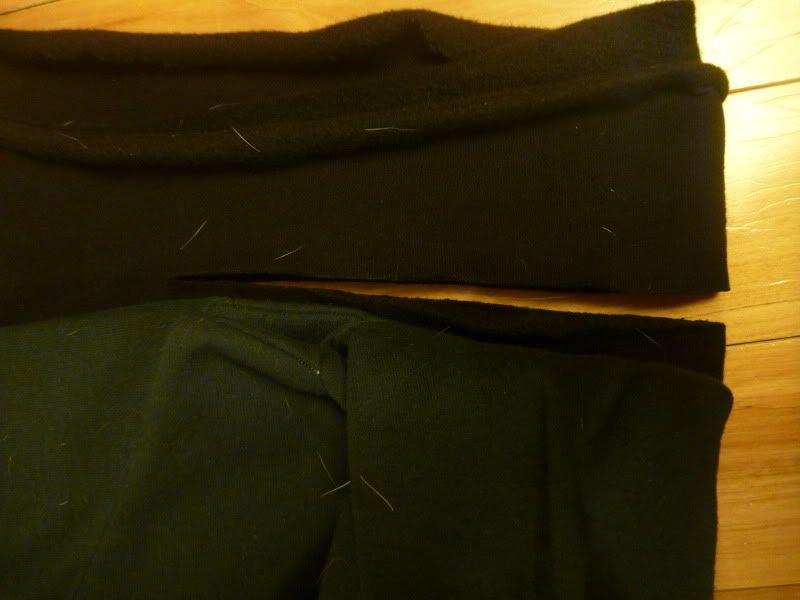
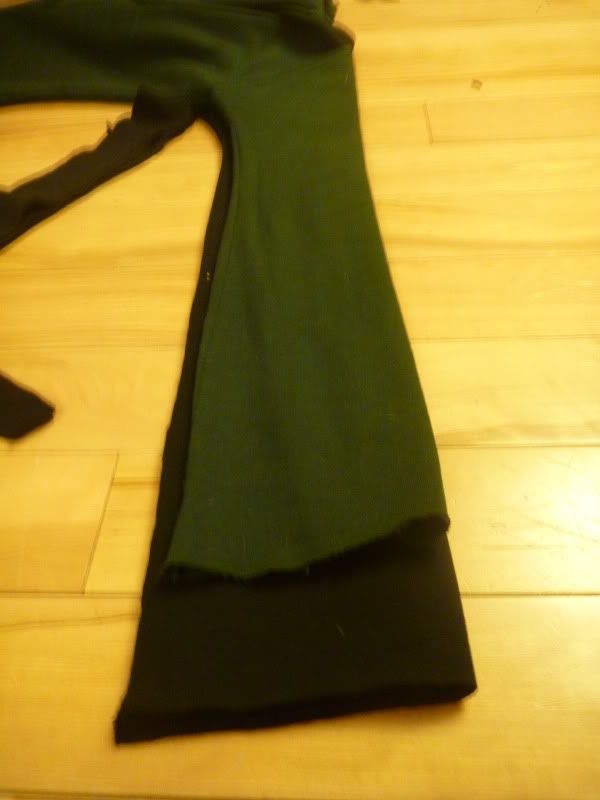
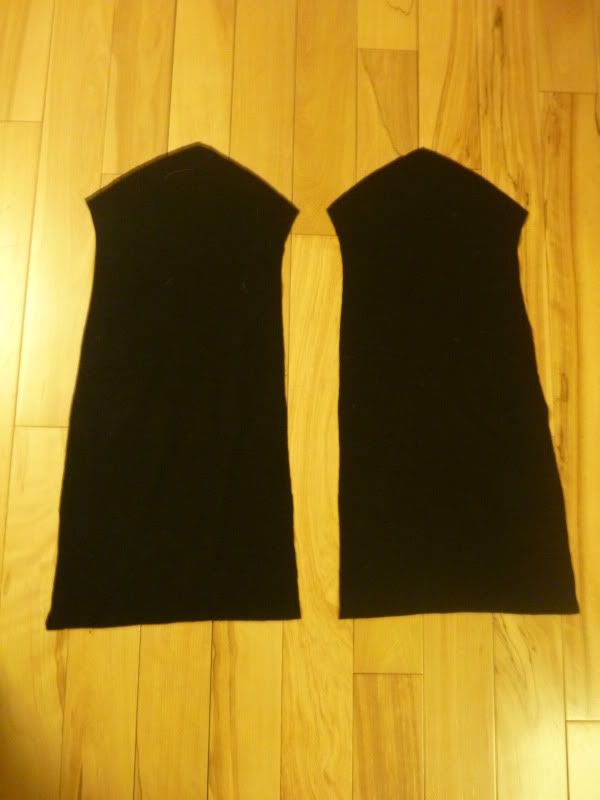
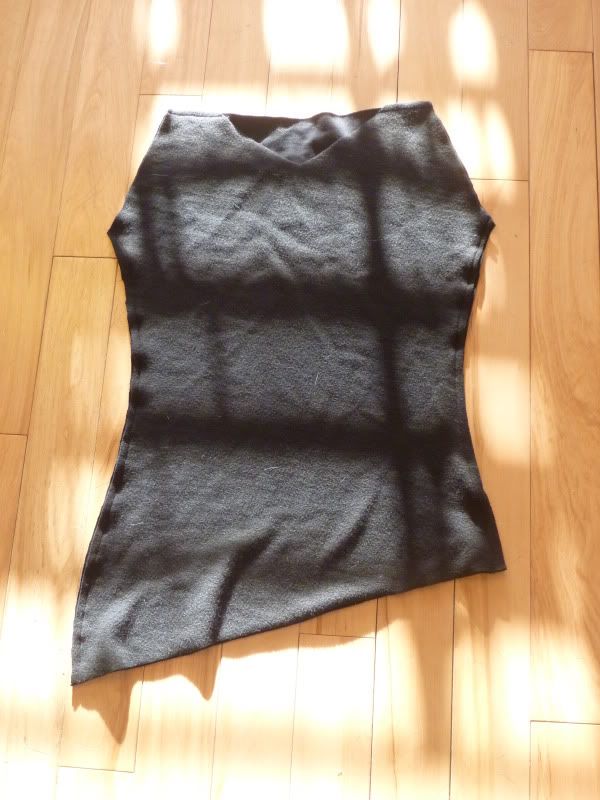
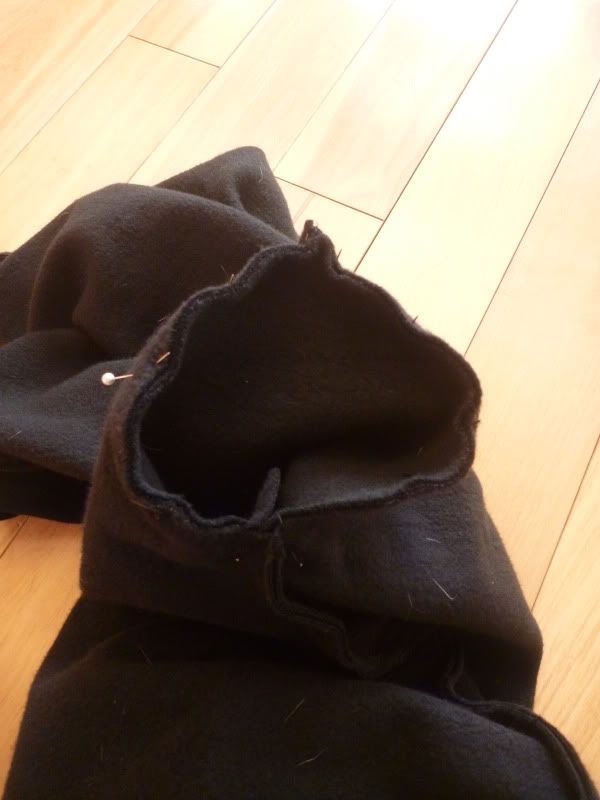
you will have two pieces of material that look like this:
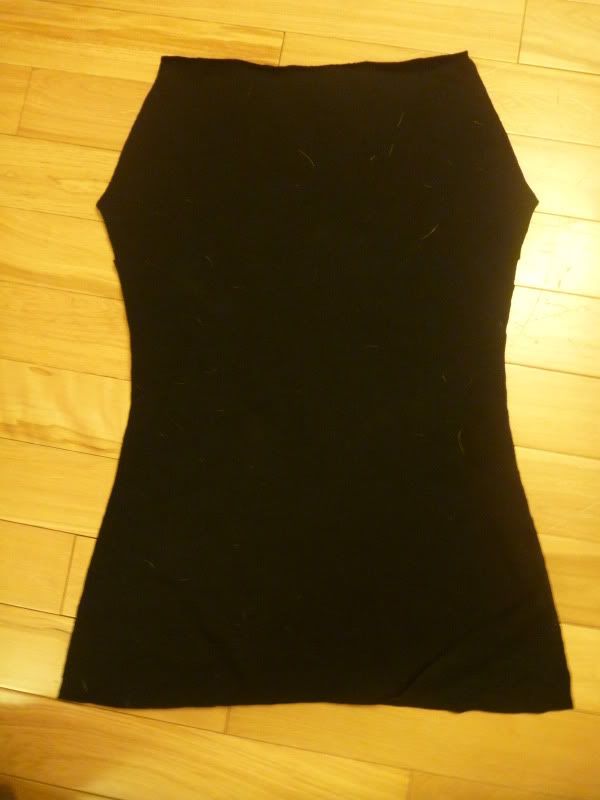
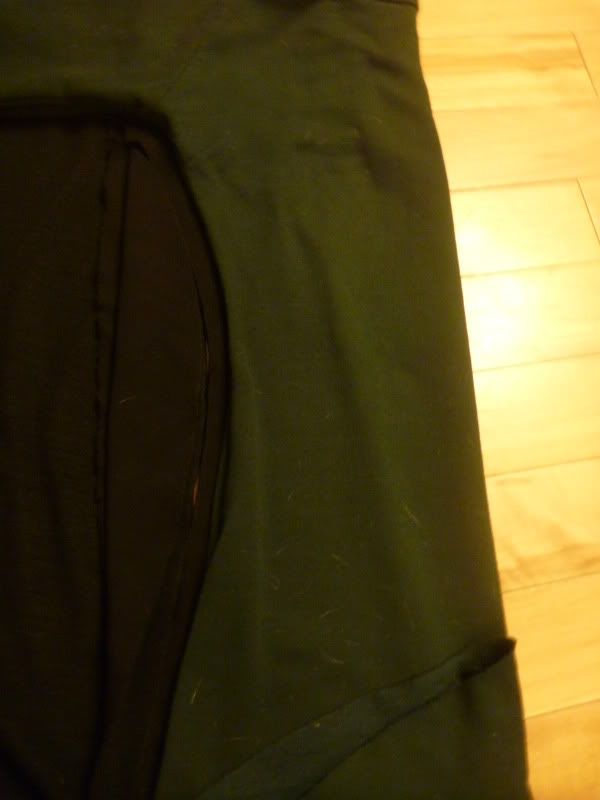
one of them can stay the shape it is, for the back. for the front,
you are going to want to make more room at the neck. with it folded in
half, measure down about 2” and cut diagonally. you may want to
reference the top that you are copying to get an idea of how big the
head hole is:
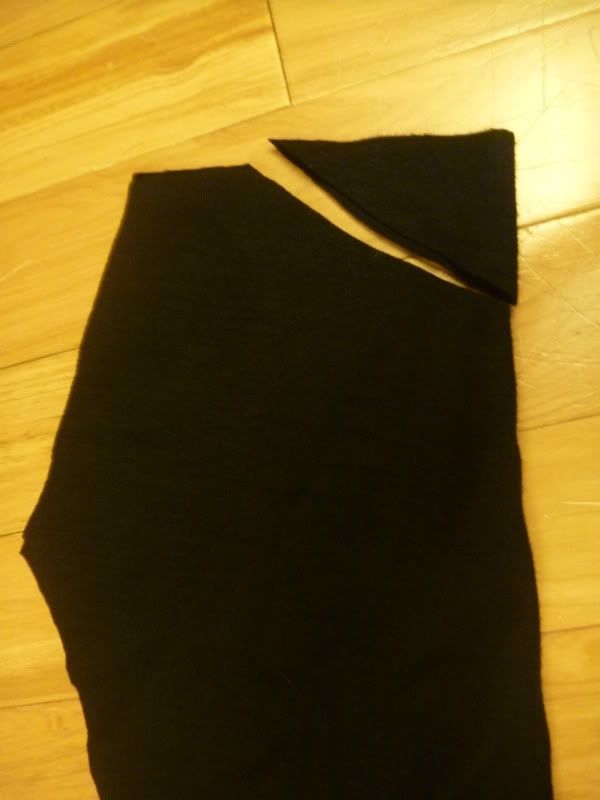
next up, cutting out the hood! i prefer pointy hoods, but you can use
the same idea to copy a rounded hood. start by folding a piece of
material in half that is roughly a little larger than you want the hood
(stretch ideally <—> but it’s not the end of the world):
then lay your hood on top of the fabric, making it as flat as possible:
and cut around the top and front (in this case the fold of the
material lines up with the fold at the back of the hood). for this
hoodie, i wanted to hem the front of the hood, which is not the case on
the green hoodie, so i left an extra 1.5” or so:
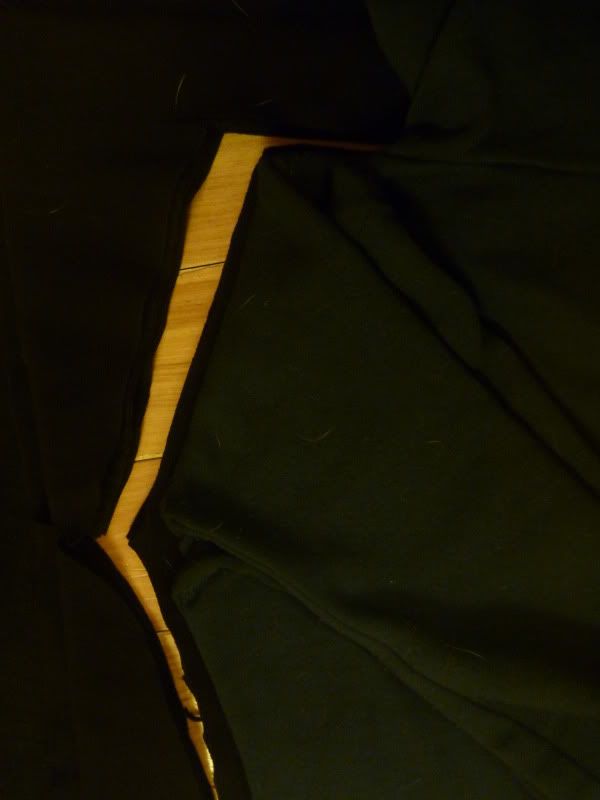
now to cut the bottom of the hood. keep in mind that it will need to
be longer at the front, since the shirt sits lower there, start the cut:
then, fold the hood down, being careful to fold along the seam:
and finish the cut:
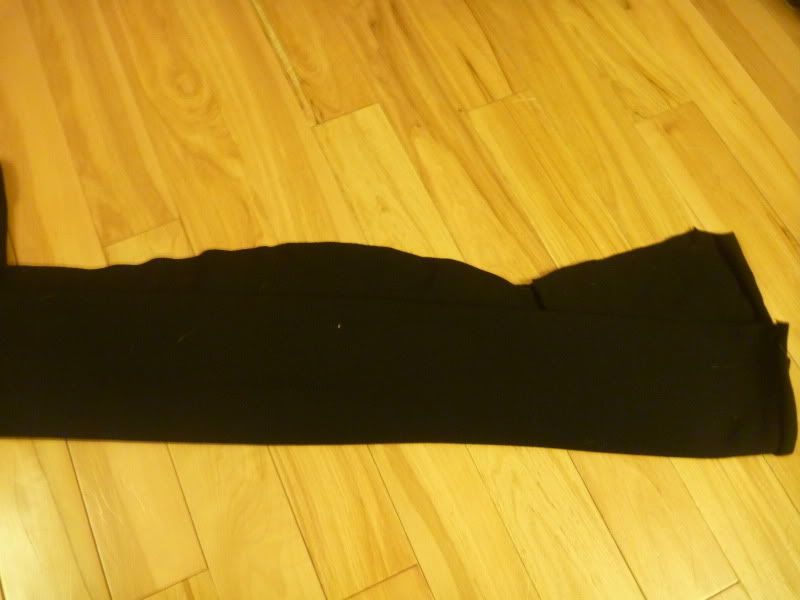
next, cutting out sleeves! start with folded material, and fold again
- you’ll have 4 layers of material. the stretch should go up and down
(from the perspective of the below photo) - you want the stretch to go
around your arms:
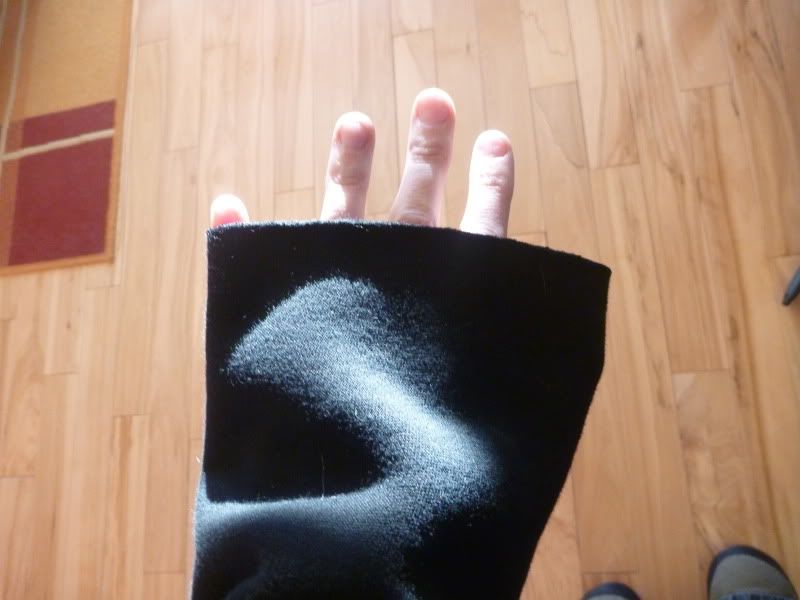
then lay your sleeve flat out on top. make sure the outside of the sleeve lines up with the fold in the material:
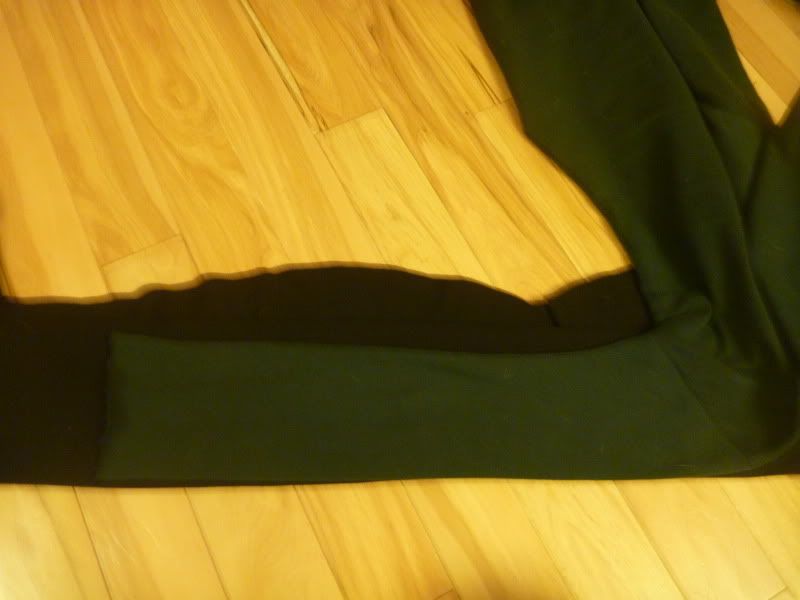
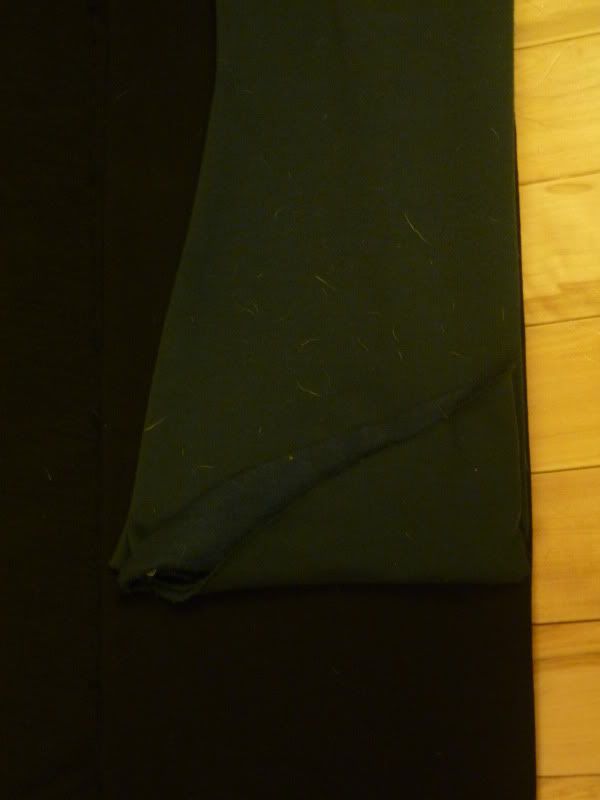
*always cut sleeves longer than you think is reasonable. always* in
this case, i wanted to hem the sleeves, which was not done on the green
hoodie. also, you can always make sleeves shorter, but not longer. i cut
about 3” longer than the sleeve on the green hoodie:
and then cut along the rest of the sleeve (don’t forget to leave a seam allowance!!):
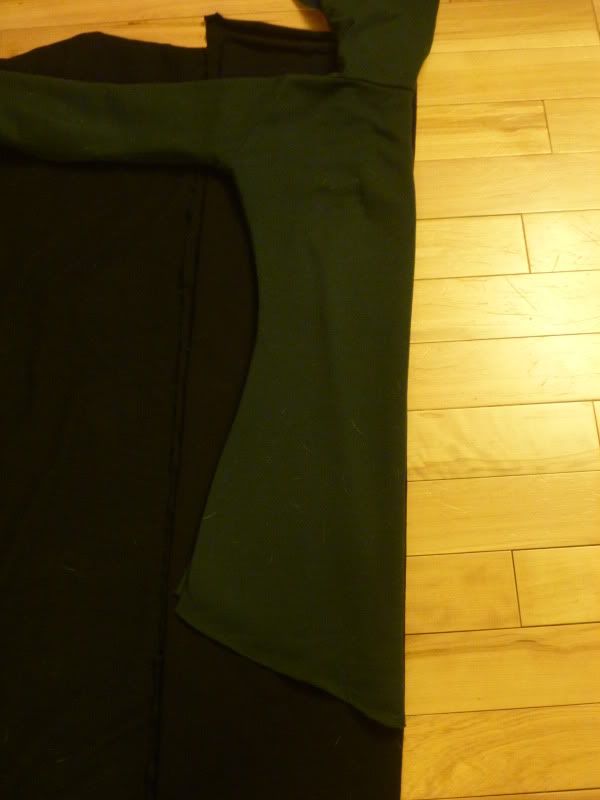
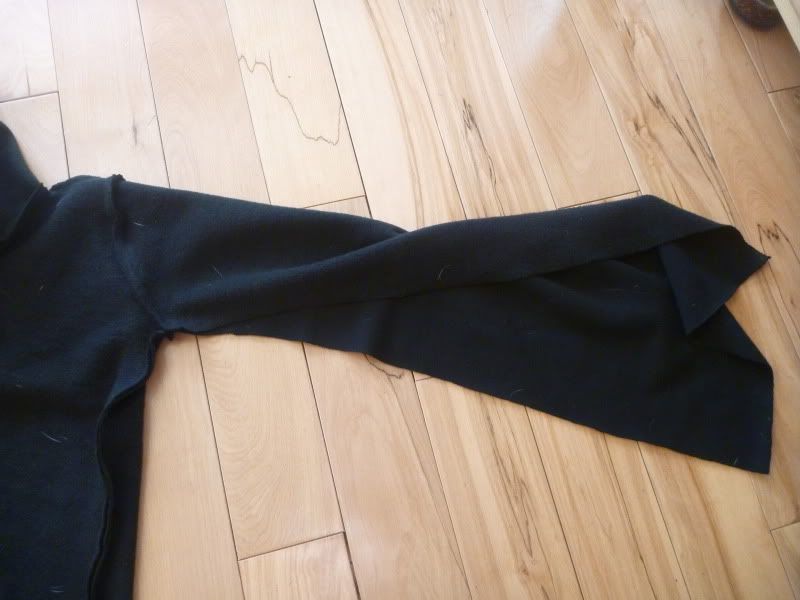
now, to tackle where the sleeve meets the torso:
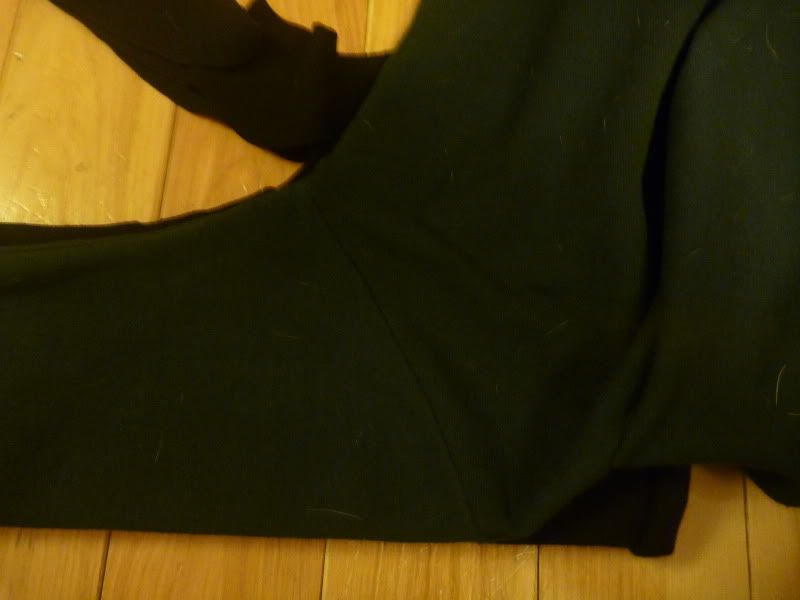
leaving the sleeve just where it is, carefully fold the rest of the
hoodie back. be sure that the fold follows the curve of the seam:
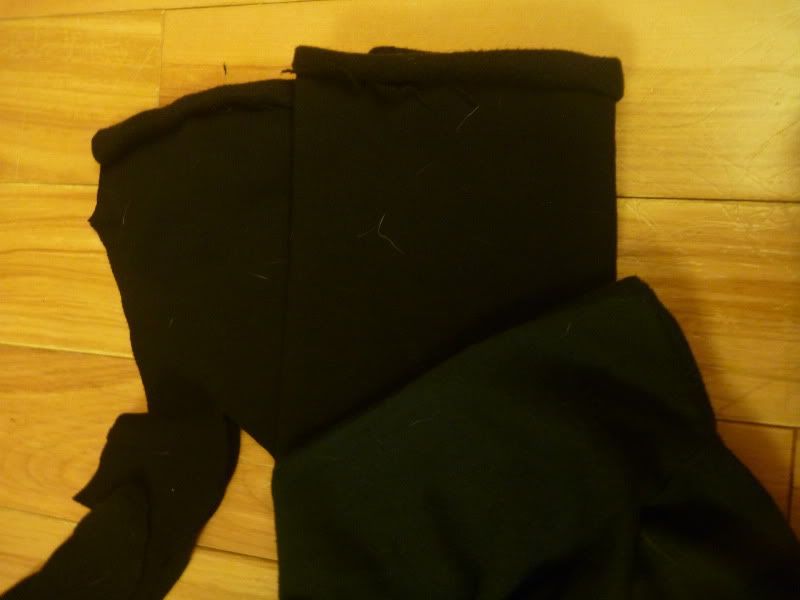
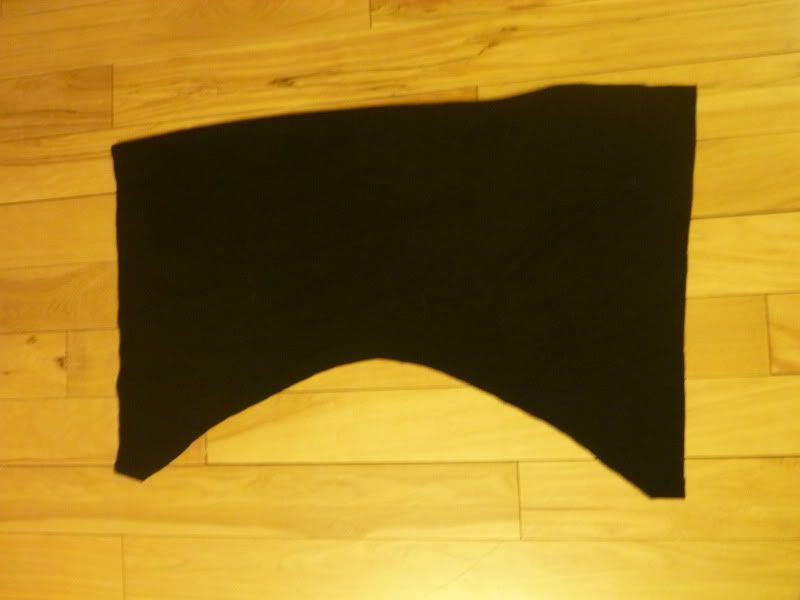
and cut. unfolded, the sleeves will look something like this:
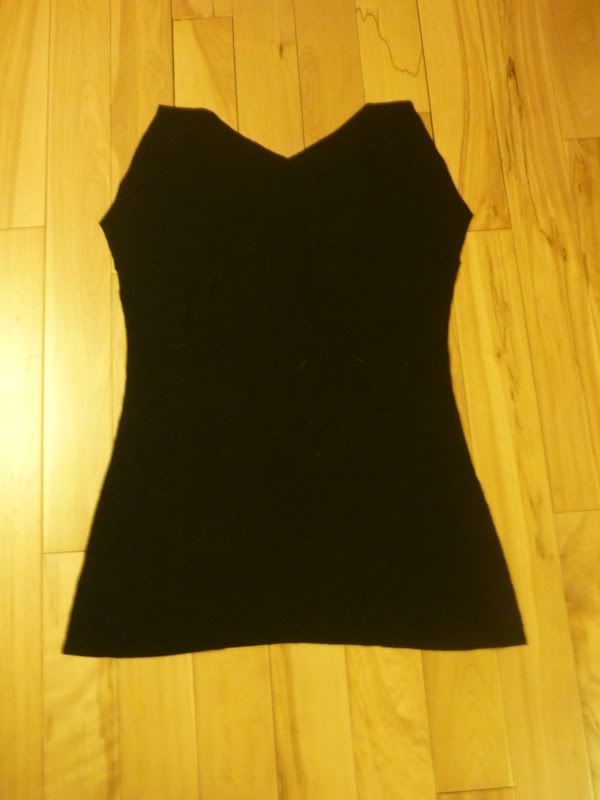
the front torso:
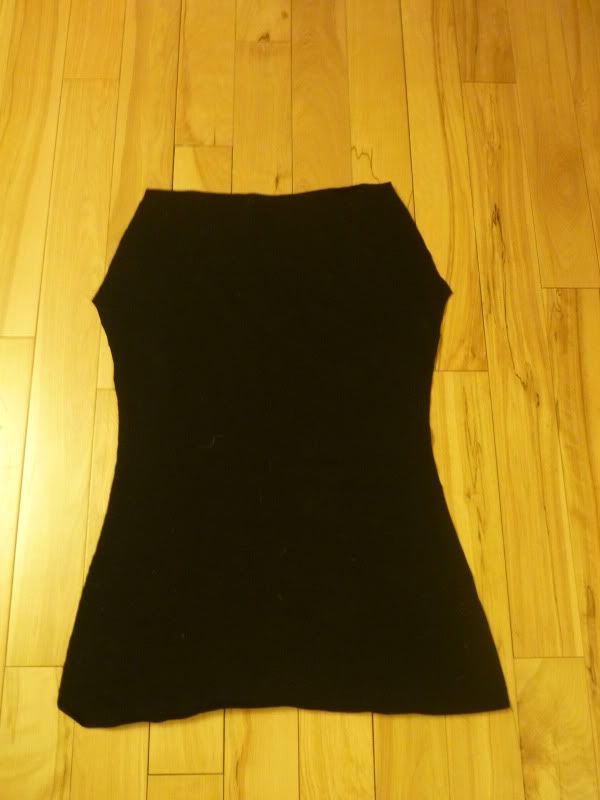
the back torso:
and the hood:
now, to put it all together!!
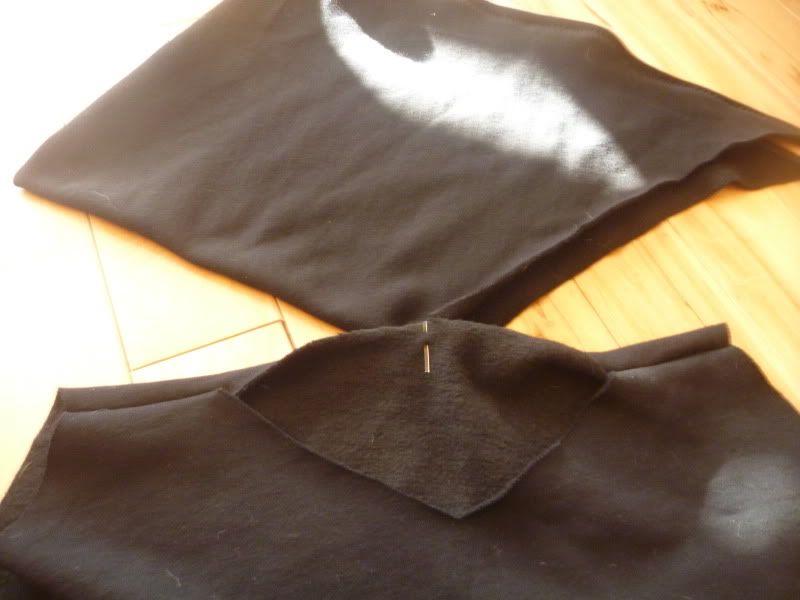
starting with the hood. fold it into it’s hood shape with the outside
of the material IN. this means if you are using standard hoodie
material, that would be fuzzy side OUT:
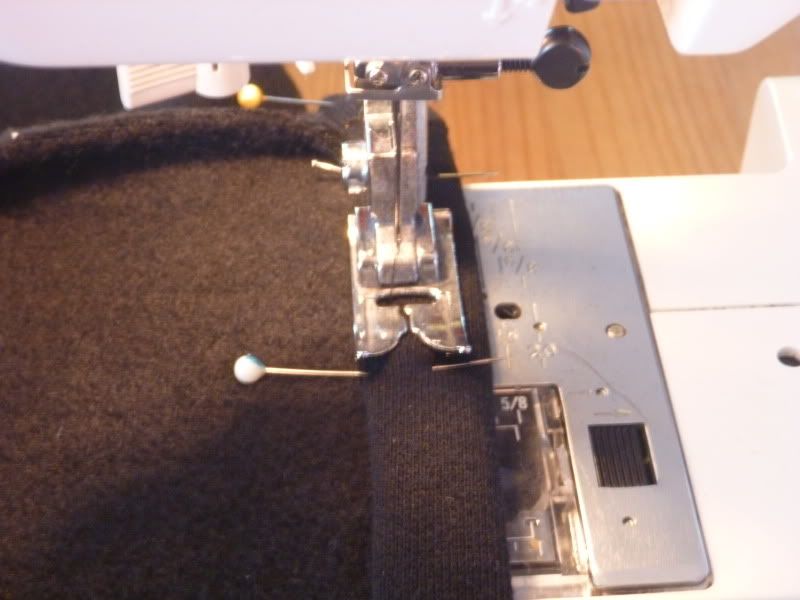
then pin along the top:
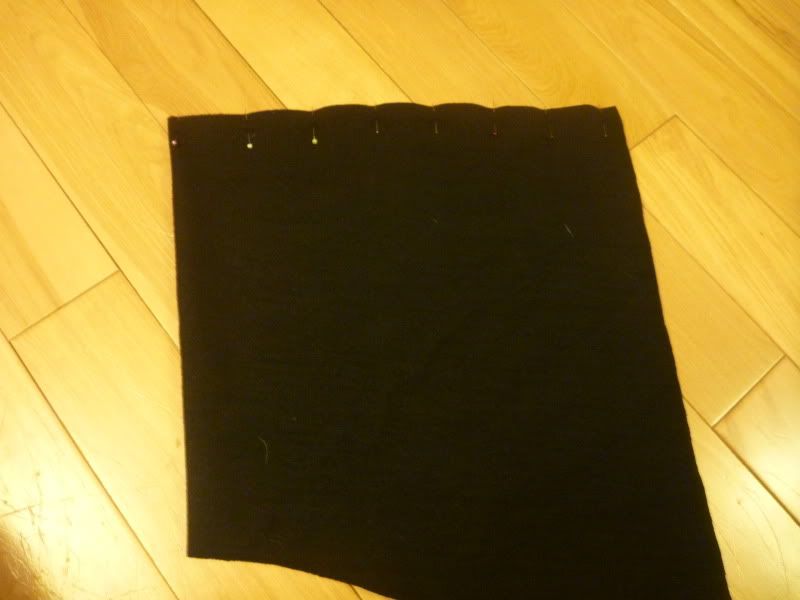
and sew making sure you leave about 1/2” seam (i double stitch
everything - it makes it stronger, but is not strictly necessary). sewn
hood:

next hem around the front of the hood. fold the material around the
front of the hood twice, and pin in place. make sure that you are
folding towards the inside of the material, as shown:
and sew (preferable with a zigzag stitch so it has some stretch):
and you have a finished hood:

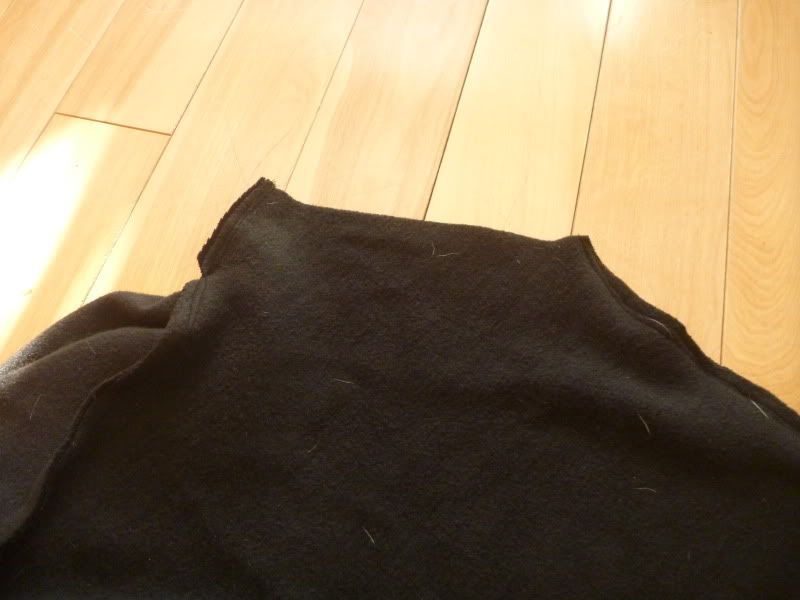
now for the torso: lay the front part of the torso on top of the back
(again, making sure the “right” side of the material is IN):
and pin. you want to pin up the sides (from the bottom corners to the
bottom of the arm holes) and the shoulders (from the top of the arm
holes to where the head-hole starts) - notice as well that i have cut
the bottom of the material on a diagonal, so that one side will be
longer than the other. just a style choice, not necessary - and you can
always wait until it’s sewn so that you know exactly how long it will
be:
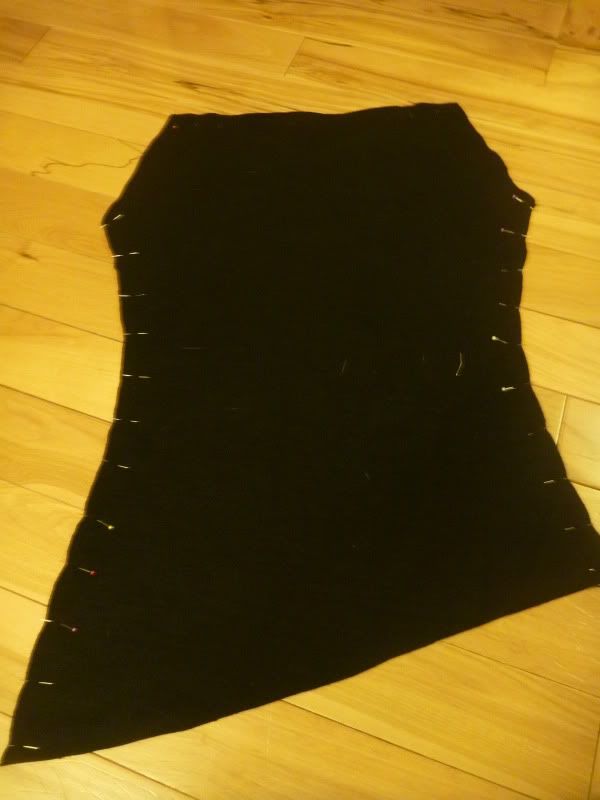
and sew:
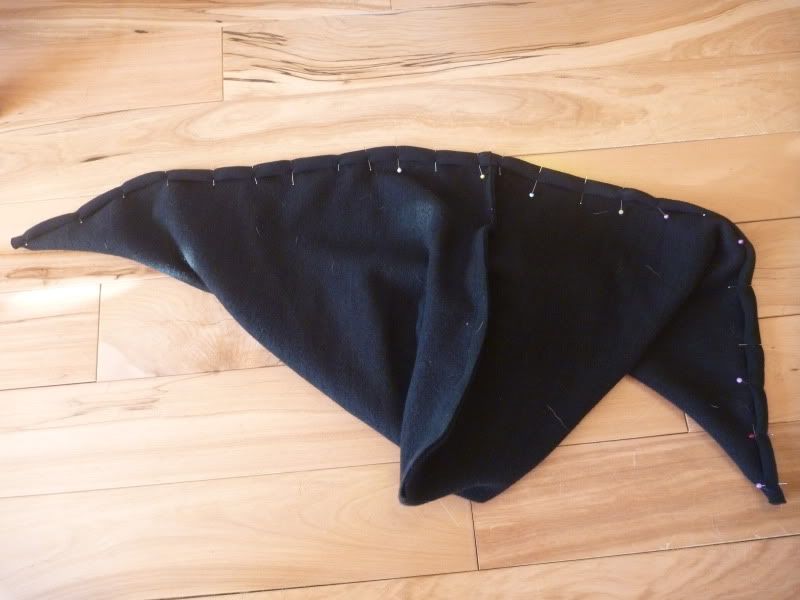
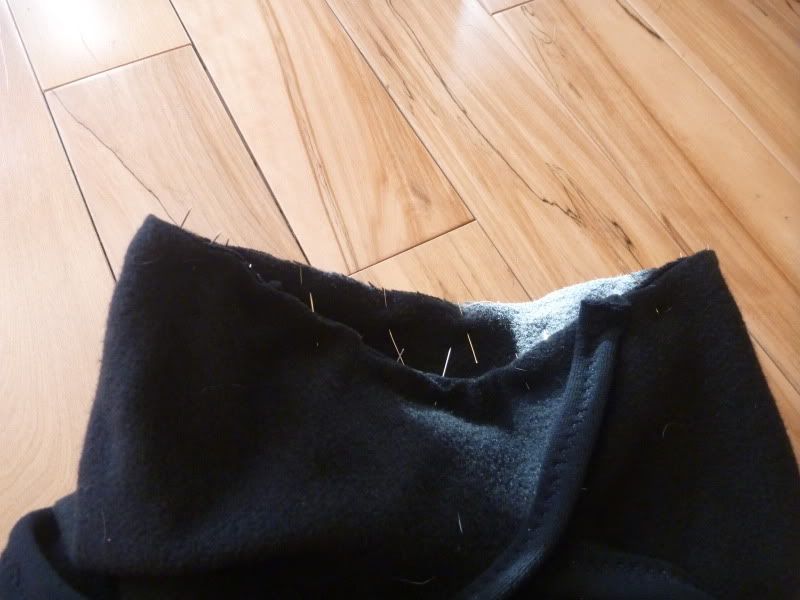
now, to attach the hood to the body!
start with the torso turned right side out. find the middle of the
back of the torso, and the middle of the back of the hood, and pin them
together, right sides touching:
from the back, proceed to pin all the way around (you should have at
least an inch or two of overlap at the front of the hood - shown below):
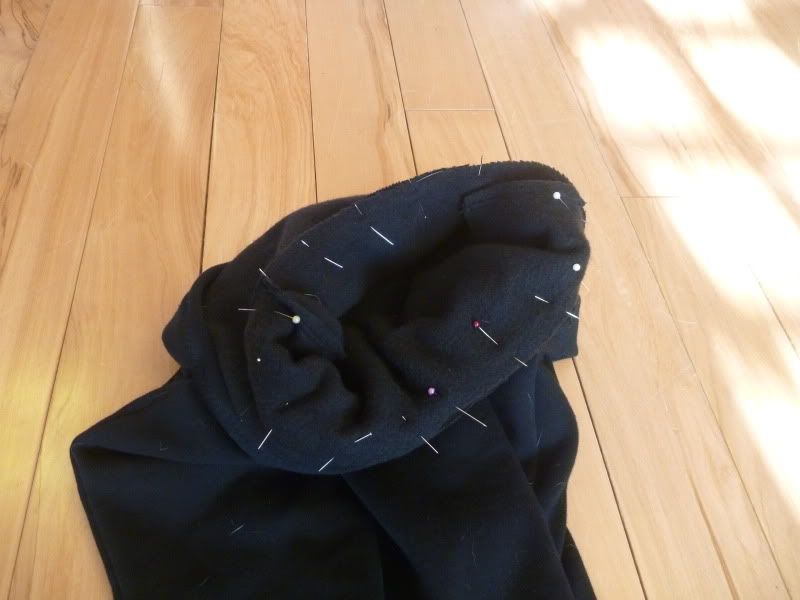
and sew all the way around. once you take out the pins and puff up the hood, it will look like this:
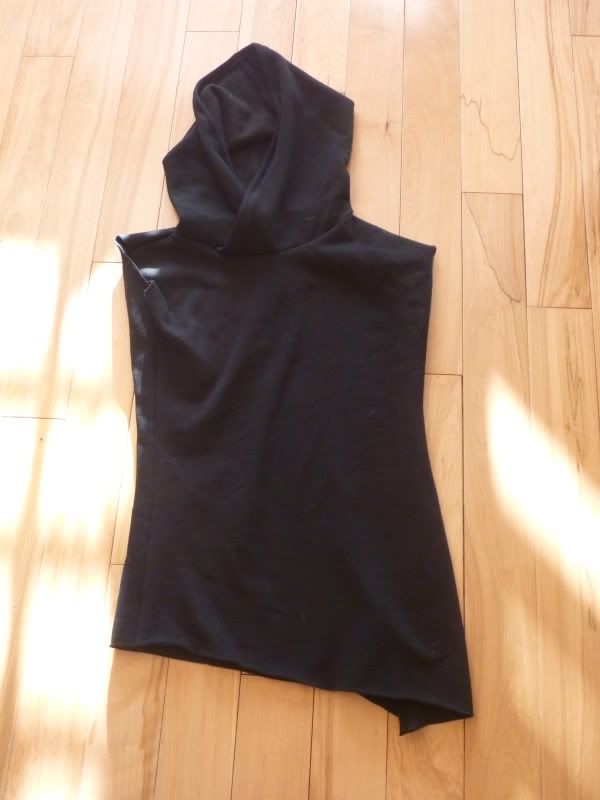
next, to attach the arms!
i recommend sewing the arms into the sleeve holes FIRST (before
they’re sewn into tube shapes), because that way if you sleeve is a bit
bigger around than the hole, you aren’t left with extra material. start
by turning the torso inside out:
with the sleeve folded in half, and right side out:
insert the sleeve inside the hoodie, and out the arm hole. the point
(bottom left of above picture) should be at the top (shoulder):
starting at the top, pin the sleeve and the torso together:
once sewn, it will look like this:
lay the sleeve flat (as seen below, it may not be quite even - that is okay):
pin, and sew the sleeve. i apparently didn’t take a picture of this
step, but if you’ve made it this far i’m sure you can figure it out!
here is the “after”:

the last step is to hem the sleeves. this is before hemming (you can
see that even though i cut the sleeve quite long, it is not crazy long
on me):
roll the sleeve (similar to what you did to hem the front of the hood):
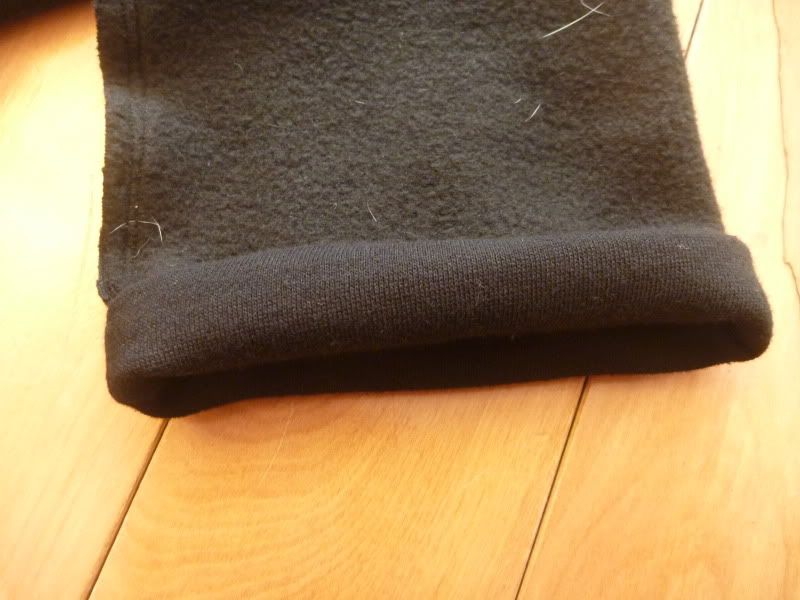
then pin, and sew (again i’d recommend a zigzag stitch so that it stretches).
and, you’re done!

No comments:
Post a Comment