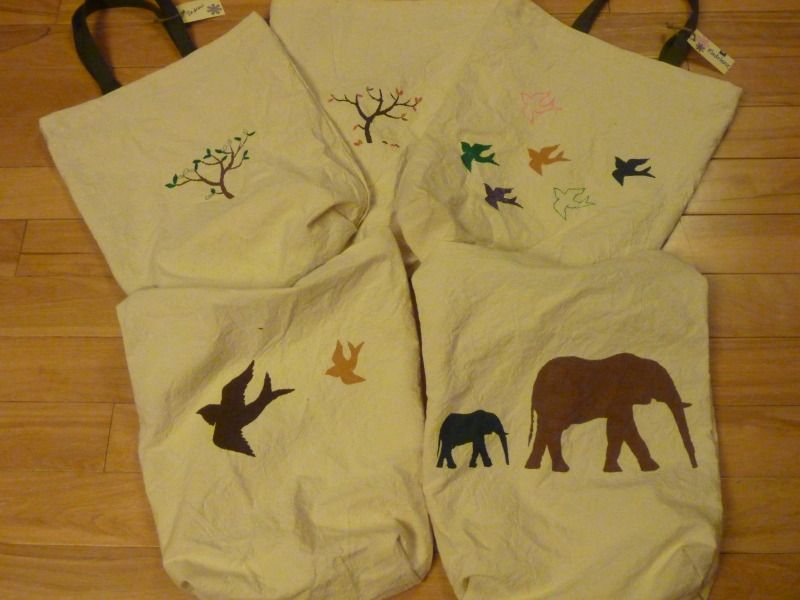
i did a post a few days ago about how i made these canvas reusable shopping bags.
once they were finished, i decorated them! honestly i thought this process would be a lot more difficult than it was. it was a bit time-consuming (mostly cutting out the stencils), but totally worth it.
i have to say, fabric paint has come a long way from the glittery plasticy crap i remember from my childhood. if i had any skill as an actual painter, it would have been really fun to paint masterpieces on each bag, but alas, i do not posses painting skills in the least. sewing seems to be more where my talent lies.
regardless of my complete lack of paint-related skills, these turned out really well.
i encourage you to start with shapes that are basic. the most intricate ones i did were the owls, and although they did turn out nicely, they were a lot of work, and i painted myself as much as the fabric. even the birds and elephants were a lot more complicated than i thought they would be.
that being said, with some time and patience, i think anyone can do these. you may want to practice on an old t-shirt or a scrap of fabric first, to get the hang of it.
before you start, make sure your fabric is washed and dried at least once. i did this before making the canvas bags, and the other example is an old t-shirt which has been washed a million times.
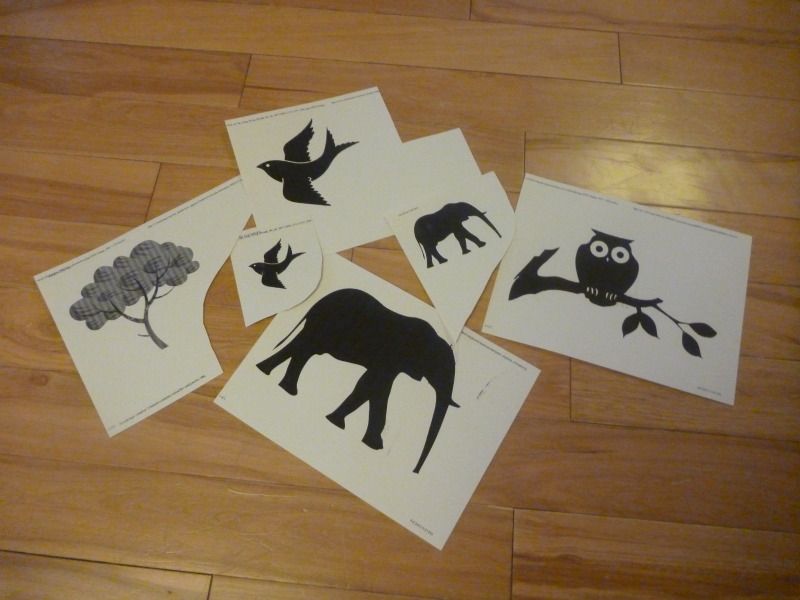
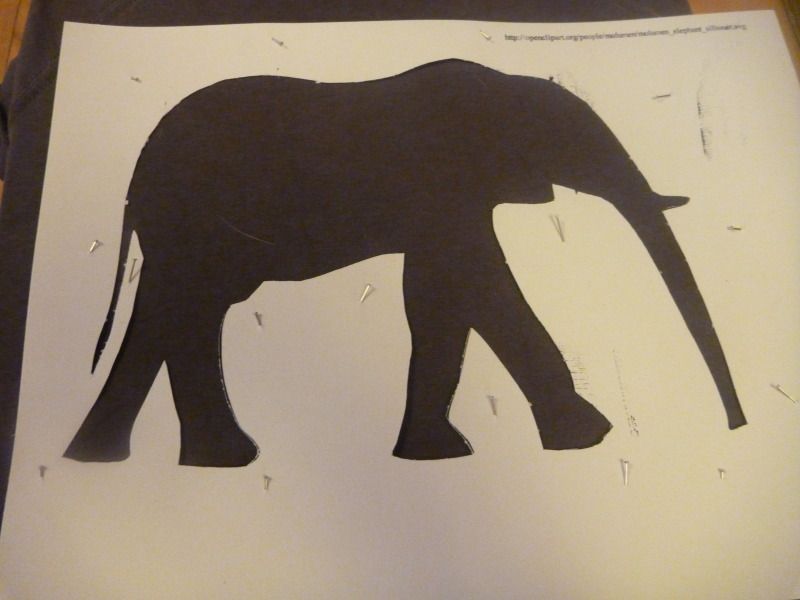
google some clip art images. keep them simple. print them out onto cardstock (i bought a big stack for $1 from dollarama, it's somewhere between the thickness of paper and bristol board) in the sizes you want.
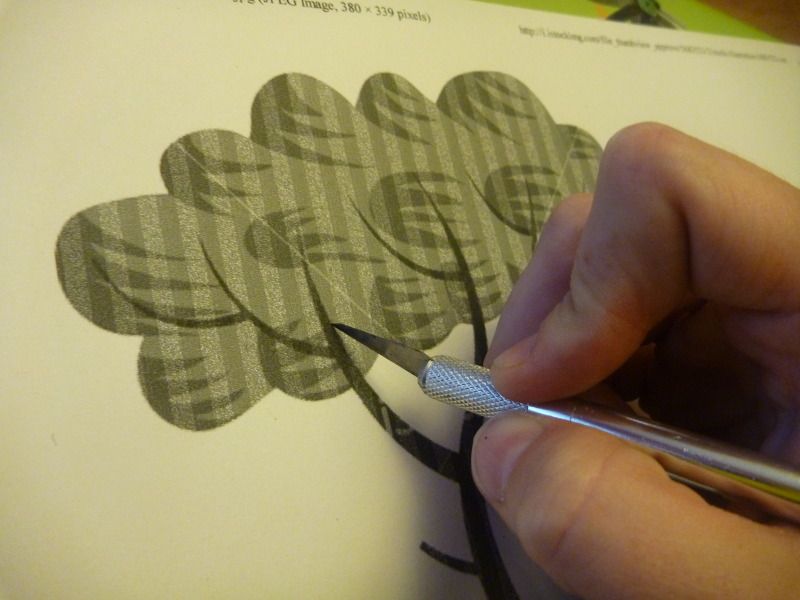
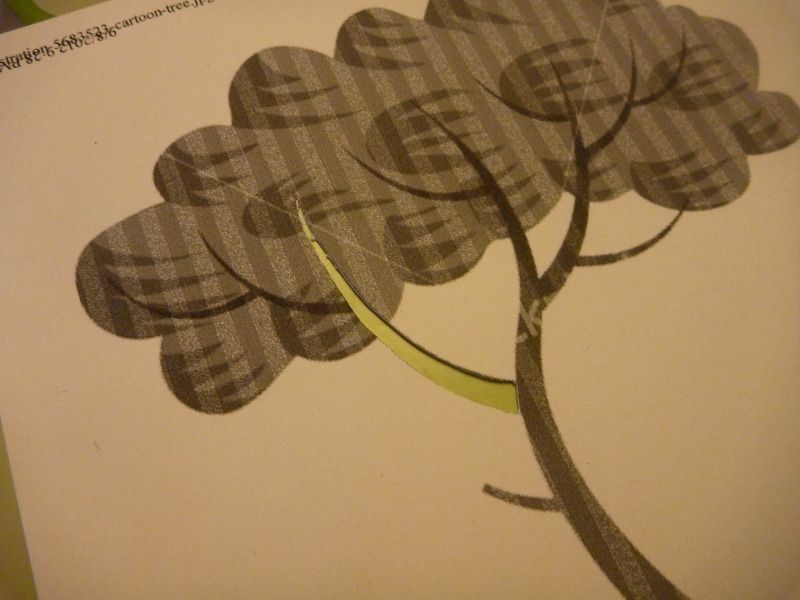
next, cut out the designs. i did this with an xacto-style knife blade, but if you are very careful scissors could work as well. you want to be very careful not to bend the paper, so that when you place it on the fabric it lays flat!

depending on what type of fabric you are using, you will want to stretch it out a bit. for the t-shirt that i painted, i wrapped it around a board game and secured it with an elastic to prevent the fabric from wrinkling. with the canvas, this wasn't necessary because it's much thicker and stiffer.
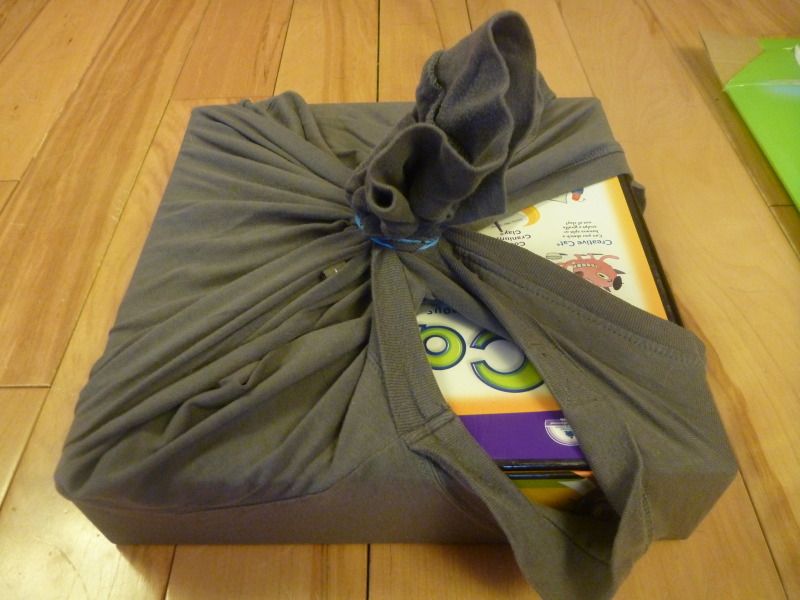
(if you are using this method, ensure you note where you want the print before you wrap it around something. pins work nicely for this)
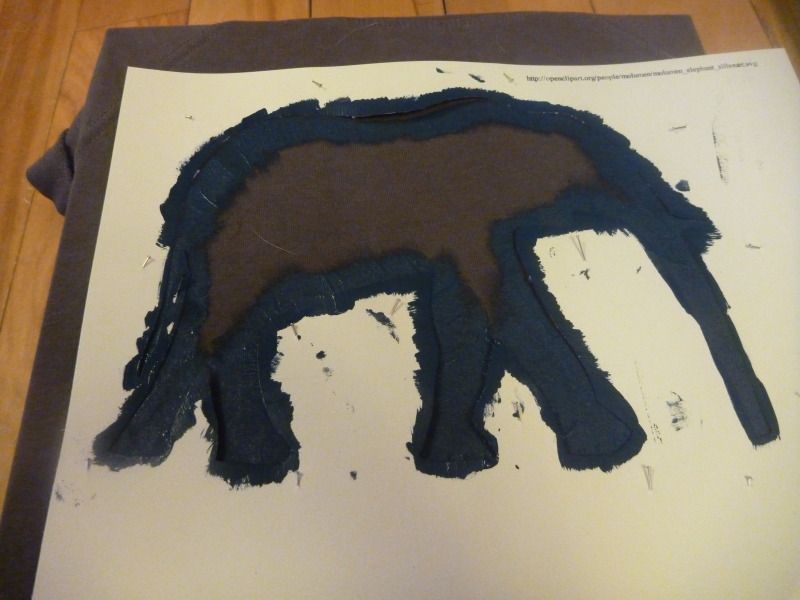
next, pin the stencil over the flattened material. i prefer to use pins that don't have big balls on the ends, as they lay flatter. ensure to get into any small spots (like between the elephant's tail and legs, in this example) and pin them down securely.
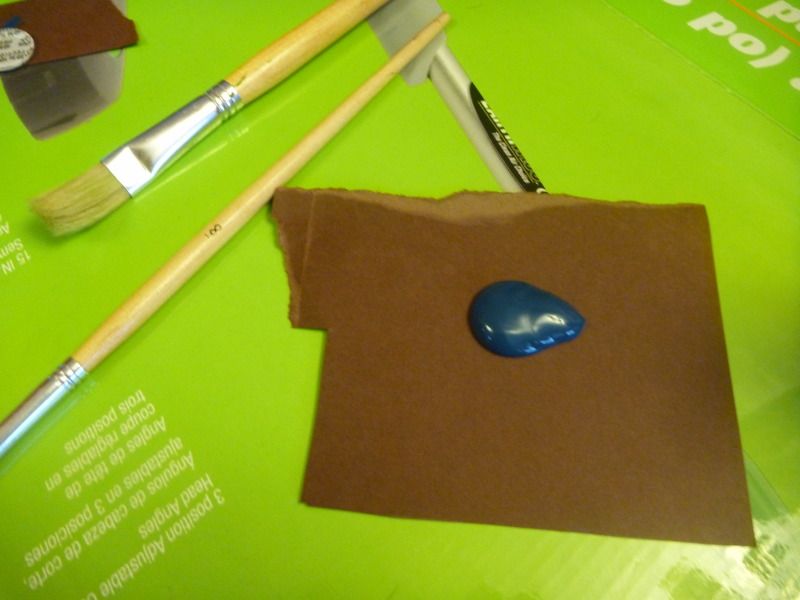
and start painting. err on the side of using less paint, you can always add more, but you don't want the paint to seep under the edges of the paper.
use brushstrokes that go from the paper onto the fabric, to create a nice sharp line.
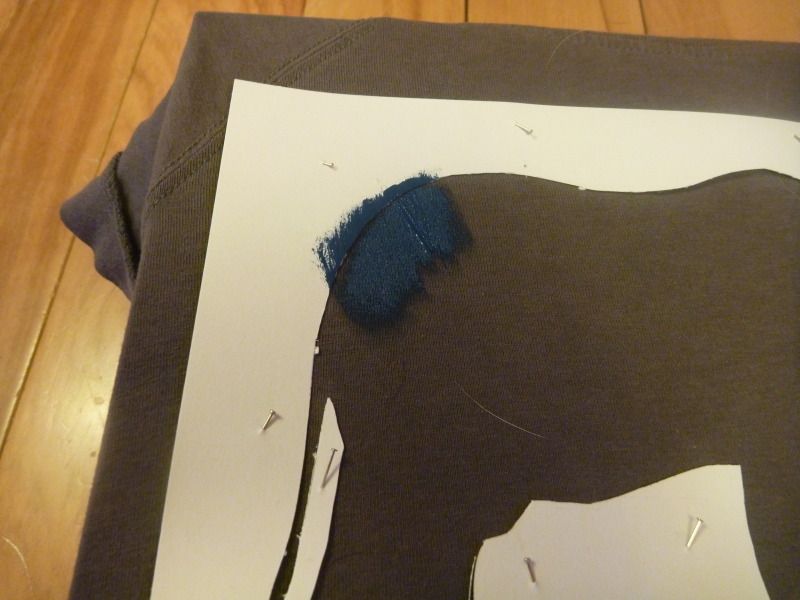
start by doing the entire outside of the design, and then fill it in. hold down the edges with your fingers if needed (like at the top of the elephant below, where the paper is lifting off a little)
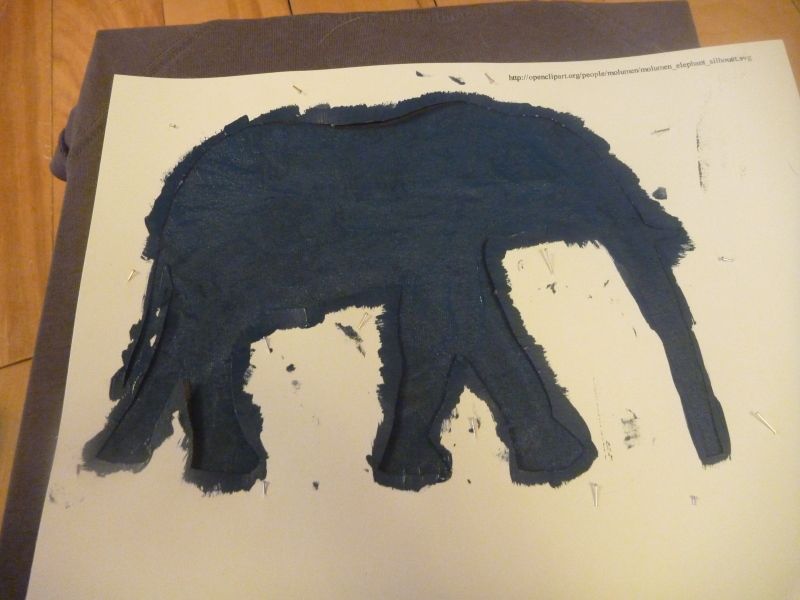
look over your work carefully, and make sure there are no spots missing paint. once you are satisfied (and BEFORE THE PAINT DRIES) carefully remove the pins (i recommend tweezers) and pull off the stencil.
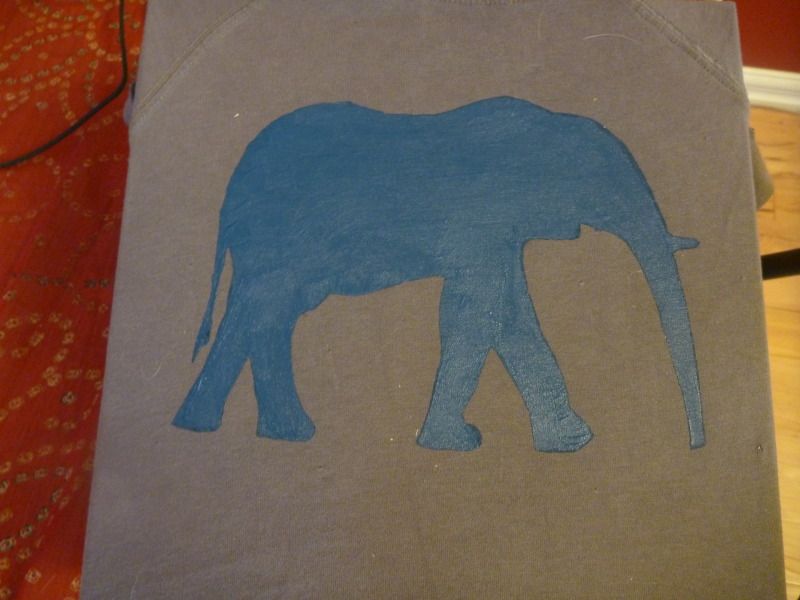
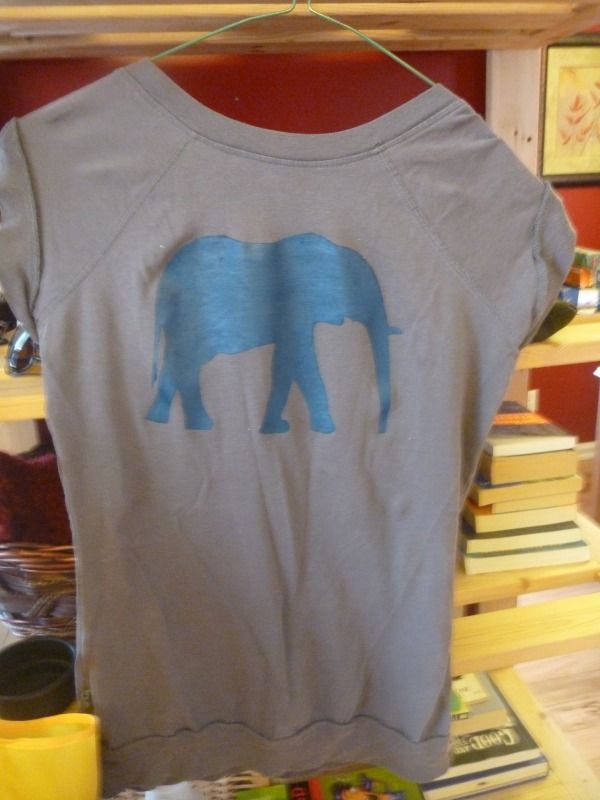
ideally hang your work to dry, so that the paint doesn't stick to the backing.
and make more!!
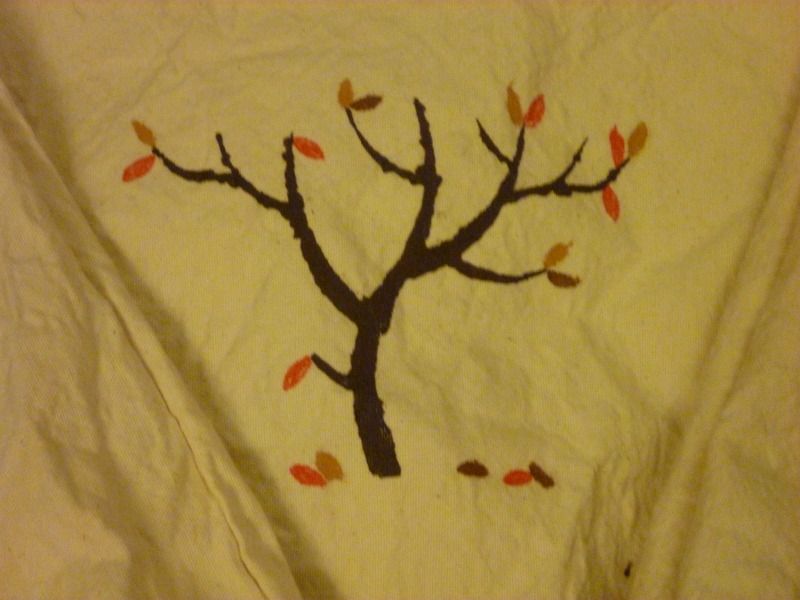
you can see in the tree above what happens when you use a bit too much paint. the trees were quite difficult because the holes were so small, but i actually really like how this turned out - it looks quite organic, and like a real tree might.
i painted the brown leaves freehand, and used fabric markers for the red leaves.
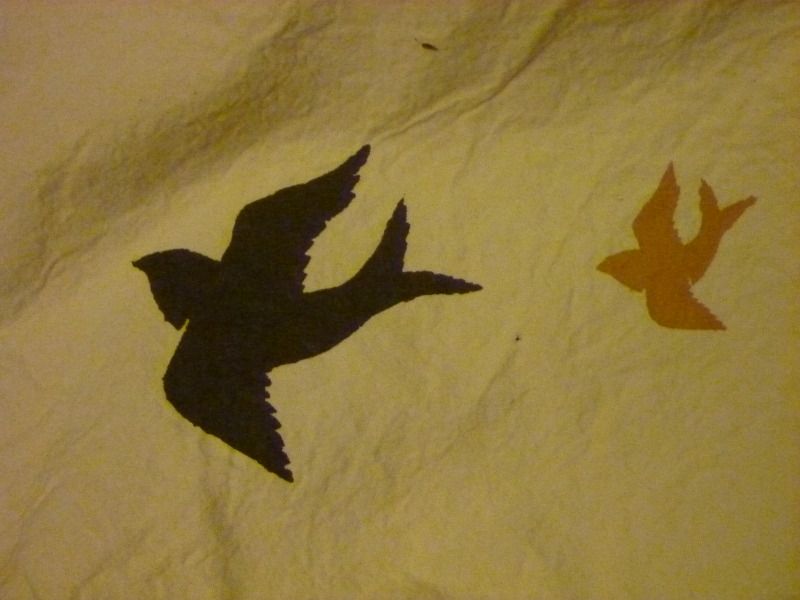
the markers are "stained" markers made by sharpie. they worked well (i also traced some birds with them in the header picture) although they come in just basic colours.
the fabric paints i used were tulip brand soft, matte paints. the t-shirt has been washed probably 5-10 times since i painted it and is showing no signs of wear at all.
No comments:
Post a Comment